

こんにちは、fuyutsukiです。
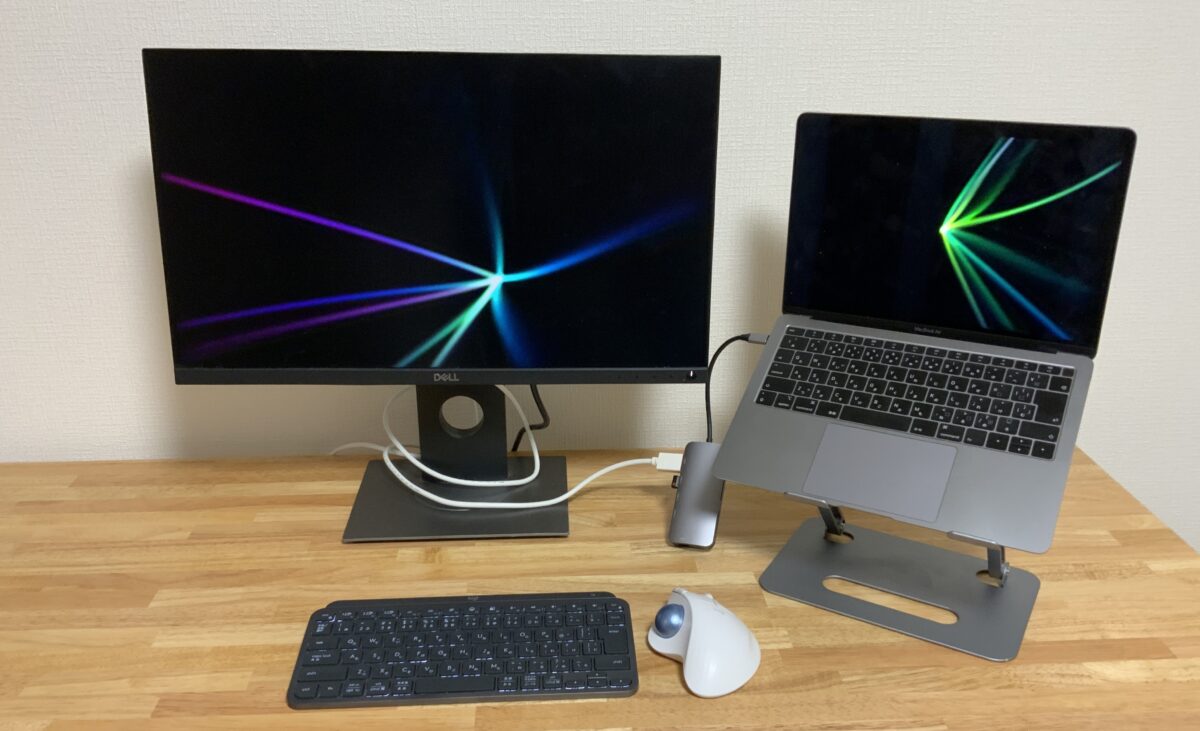
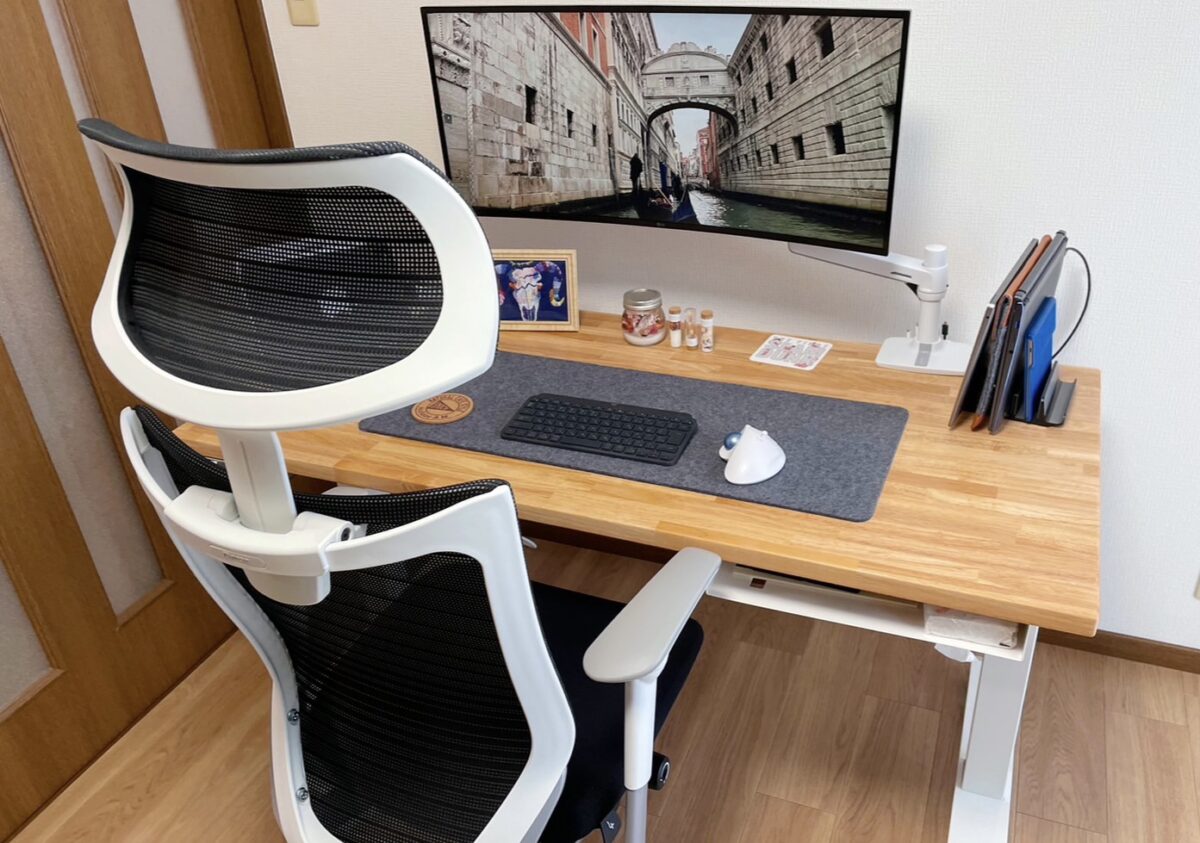
こちらの記事で紹介しているように、私はFlexiSpot E7を使用しています。
今回の記事ではFlexiSpot E7とFlexiSpot EJ2に関するコントローラーの高さ調整の方法を解説します。
 Fuyutsuki
他のflexispotの電動昇降デスクを使用されている方でも、基本的な使い方は似ていますのでぜひ最後までお読みください。
FlexiSpot E7・EJ2の高さを調整する方法
昇降機能
まずは基本的な昇降機能です。
上ボタン・下ボタンを押し続けてデスクを昇降します。LED画面にデスクの高さが表示されます。
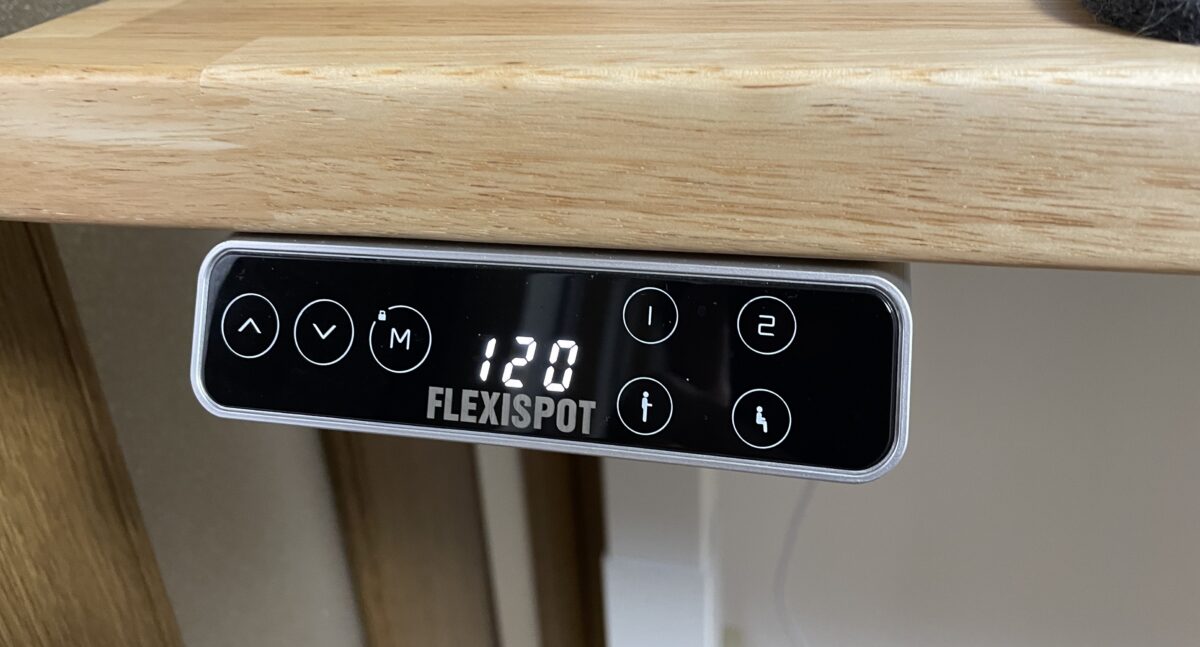
障害物検知機能
昇降時にセンサーが障害物を検知した場合、昇降を取りやめ自動的に反対側に3-4cm程度戻る「障害物検知機能」があります。
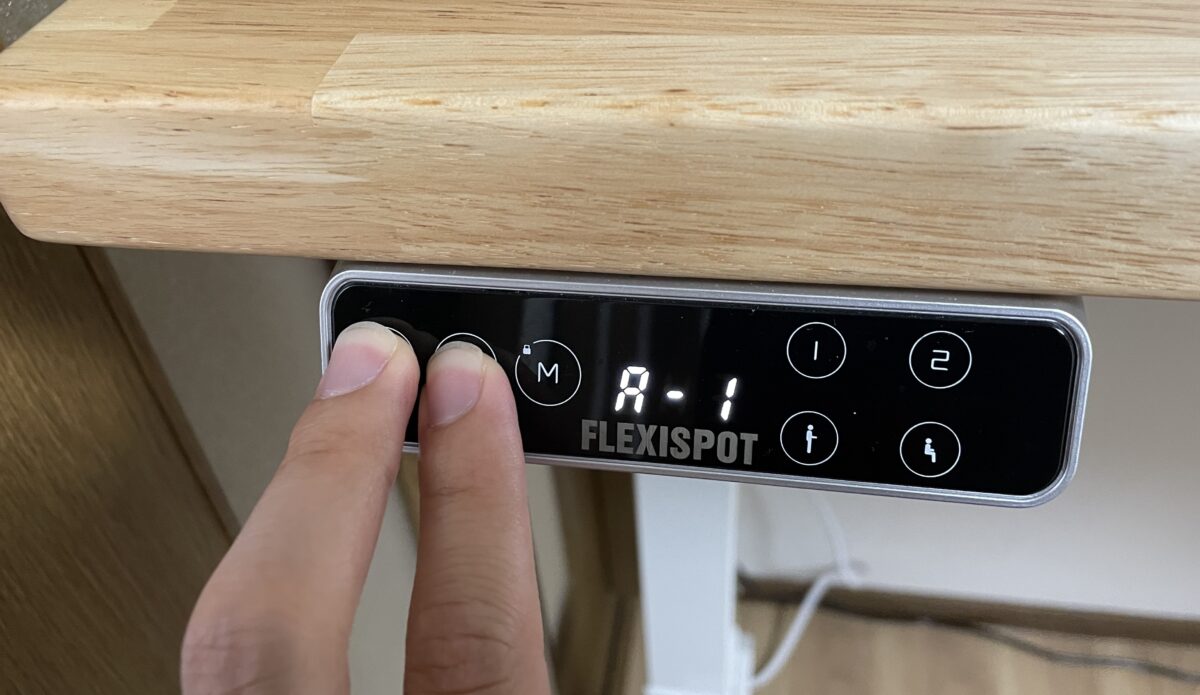
検知機能の感度はこちらの通りです。
- A-3:高感度
- A-2:中感度
- A-1:低感度
- A-0:障害物検知機能オフ
注意事項として、高感度で使用するときに誤作動が起きる場合は低感度に調整しましょう。
また、コントローラーが机に固定されていない状態で昇降すると検知機能の誤作動を起こす場合があるため、>>こちらの記事を参考にデスクにコントローラーを取り付けましょう。
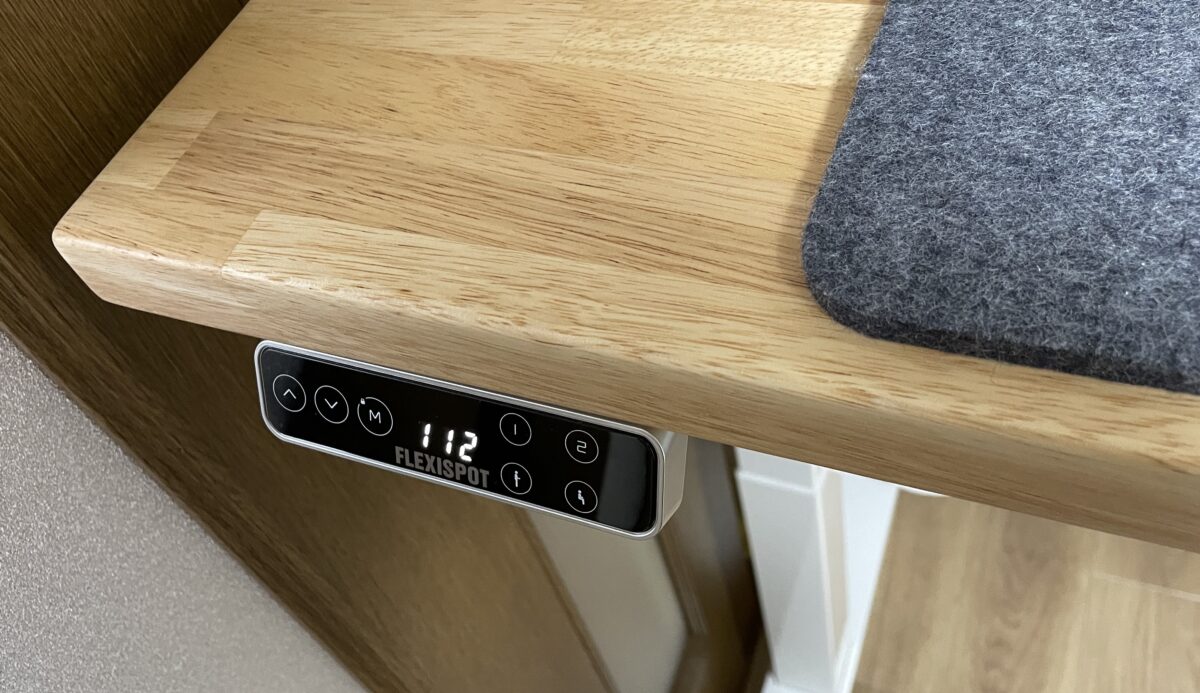
メモリ機能
まずは上ボタン・下ボタンを操作し記憶したい高さにデスクを昇降させましょう。
Fuyutsuki立って作業するときの高さを私は112に設定しています。
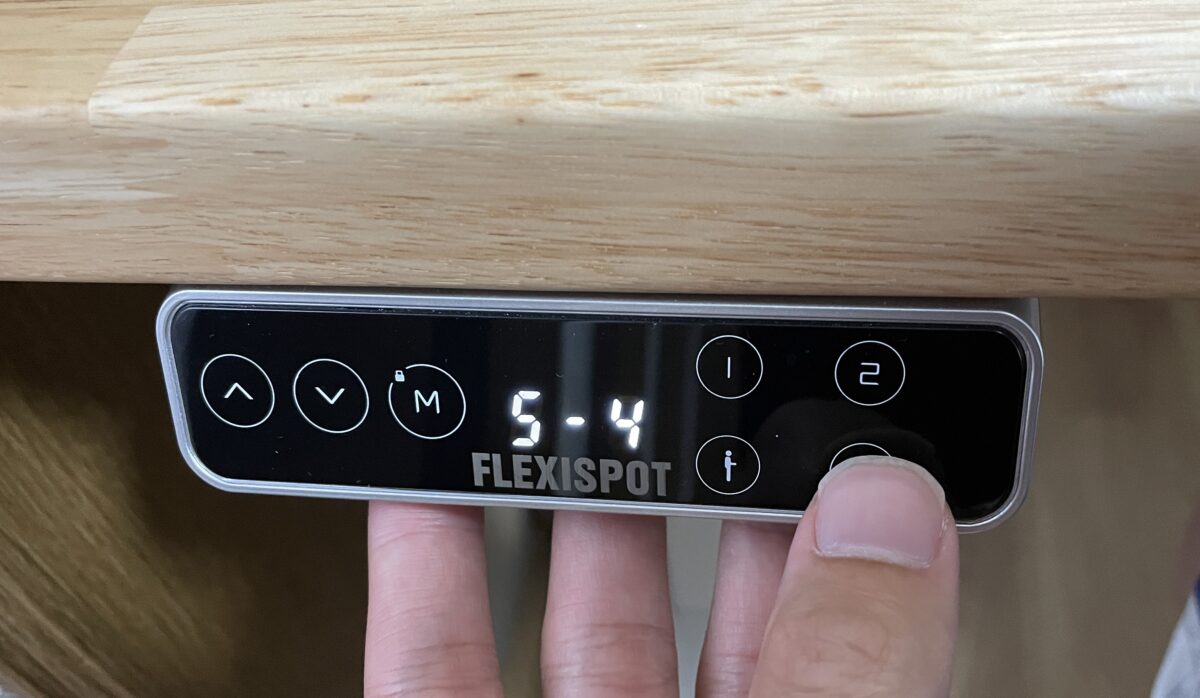
メモリーボタンMを押すとLED画面に「S-」が表示されます。
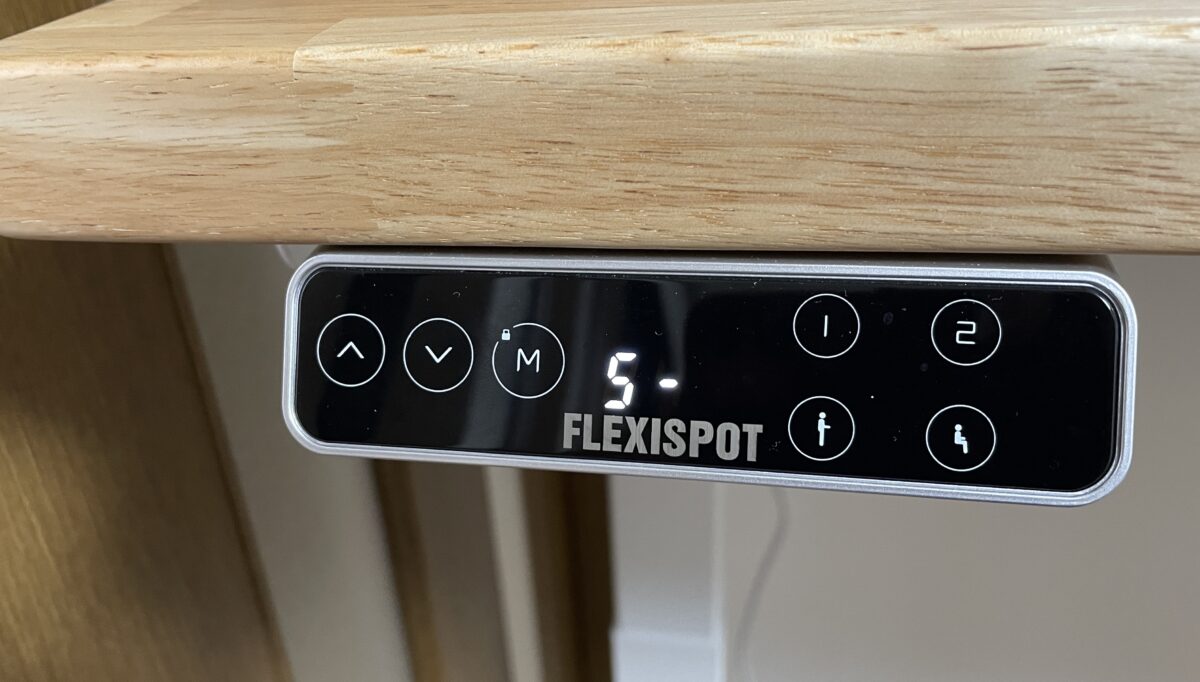
次に、「1」、「2」、「立ったマーク」、「座ったマーク」を押すと現在の高さが記録されます。正常に高さが記録されると、LEDには「S-1」、「S-2」、「S-3」、「S-4」のいずれかが表示されます。
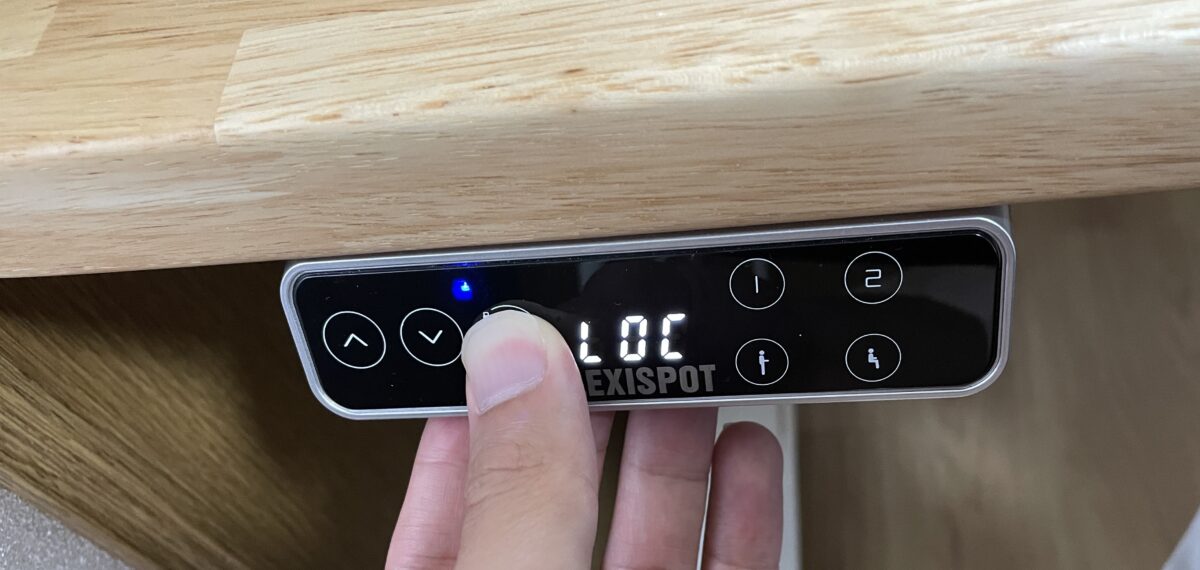
ロック機能
Mボタンを5秒以上長押しすると、コントローラーをロックすることができます。ロックされていると、こちらのように青いボタンが点きます。
小さいお子さんが側にいるときは、ロック機能をかけておくと安心です。
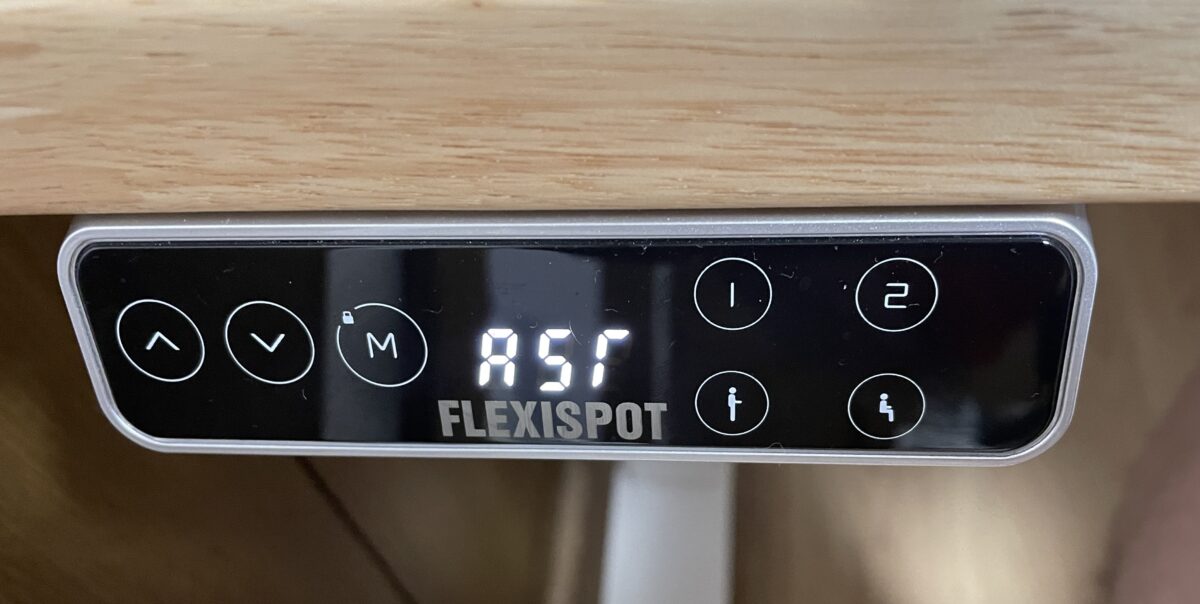
リセット機能
「M」ボタンと「立っているマーク」ボタンを同時に3秒以上押し続けると、LEDパネルに「RST」が表示されます。その後、そのまま下ボタンを長押ししていると、デスクが少し上がったのち、リセット・初期化が完了します。
補足:flexispotの組み立てについて
flexispotの組み立てについてはこちらの記事で詳細にまとめています。まだチェックされていない方はぜひご確認ください。
配線整理についてはこちらの記事にまとめています。電動昇降デスクは配線整理にもポイントがあります。

FlexiSpotに引き出しを取り付けるならこれ!というのをこちらの記事で紹介しています。
まとめ:FlexiSpotのコントローラーで細かく高さを調節!
今回の記事ではFlexiSpotの高さ調整する方法について解説しました。
最後まで読んでいただきありがとうございました。今後もデスクに関する情報は継続して発信していきますので、また読みに来ていただけると嬉しいです。