


みなさんLogicool製のマウスやキーボードは使っていますか?
 Fuyutsuki
私はあれやこれやと様々なメーカーのマウスやキーボードを使ってきて、Logicoolに落ち着きました。
Logicool製のマウスやキーボードを使用しているのであれば、ぜひ今回紹介するLogicool Optionsをインストールしてください。マウスやキーボードのカスタマイズができたり、とても便利なLogicool Flowという機能を使えるようになったりしますよ!
Logicool Optionsの機能
Logicool Optionsの機能について簡単にまとめます。
キーボードやマウスなど、各デバイスに応じて便利な機能を設定することができます。
- ボタンやキーを好みにカスタマイズ
- アプリケーション毎に好みのアクションを設定
- アカウント登録することで、設定を保存可能
- Logicool Flowの設定(対応デバイスのみ)
この中でも特筆すべきはLogicool Flowです。Logicool Flow対応マウスを購入すると、Windows・Mac間をシームレスに切り替えることができるだけでなく、コピー&ペーストするだけで別のパソコンにファイルを転送することが可能になります。
いちいちUSBメモリでデータを移動させる必要がなくなるため、大変便利な機能です。
Fuyutsuki私はLogicool Flowをしたいがために、普段使いのマウスとは別にファイル転送用のマウスとしてこちらを購入しました。

Logicool Optionsのインストール
まずはLogicool Optionsをインストールしましょう。
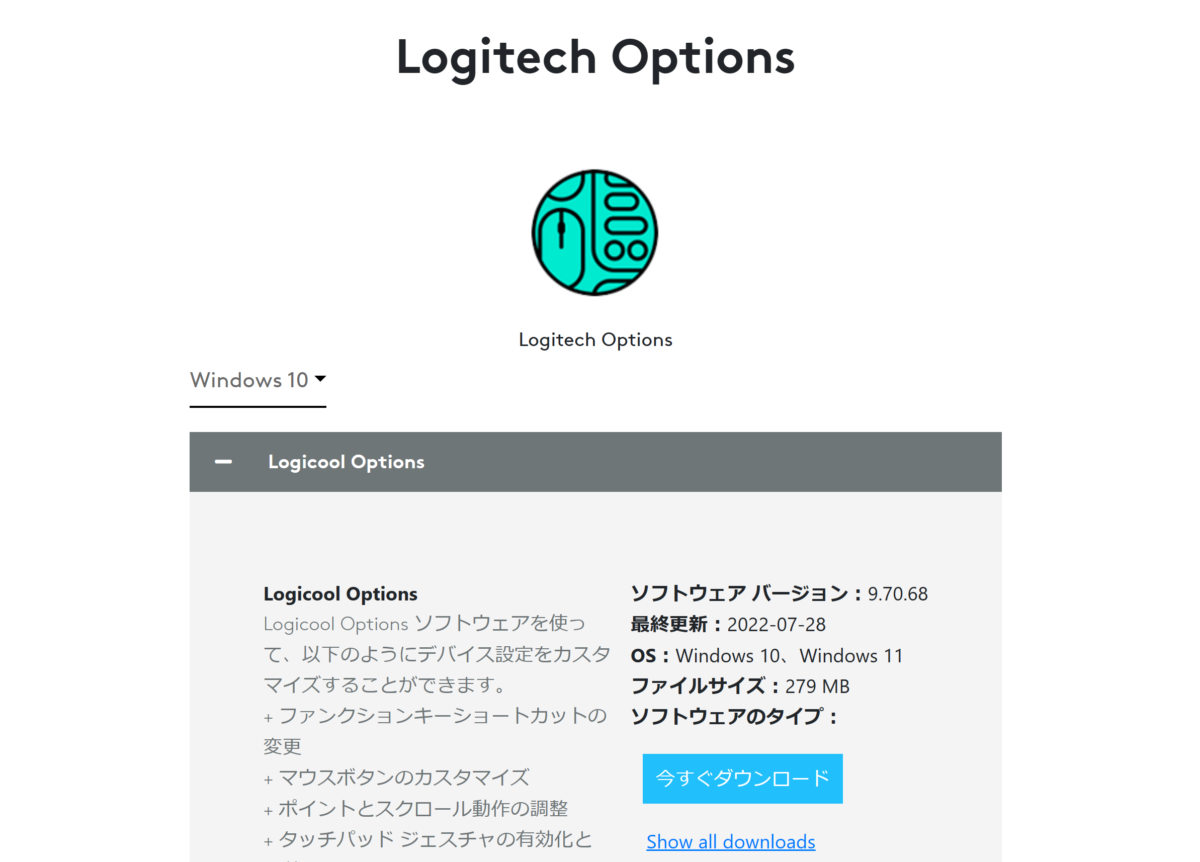
MacでもWindowsでもこちらからインストールできます。
WindowsでもMacでも対応しているバージョンを自動で表示してくれますので、「今すぐダウンロード」をクリックしましょう。
Windows・MacともにダウンロードしたファイルからLogicool Optionsをインストールしましょう。
Windowsではこちらのように、options_installer.exeがダウンロードされますので、ダブルクリックして実行します。

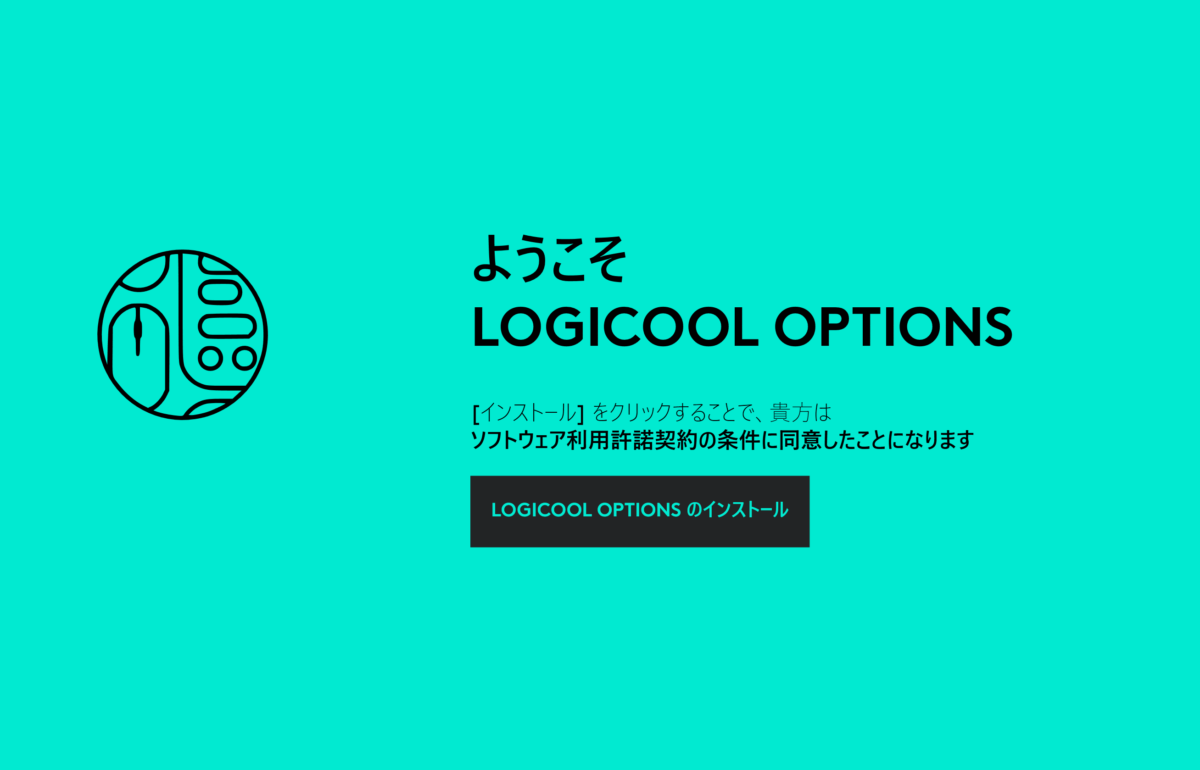
Logicool Optionsのインストール画面が開きます。
画面の指示に従ってインストールしましょう。
 Fuyutsuki
これだけでインストールは完了です。簡単にインストールすることができますね。
Logicool Optionsの使い方
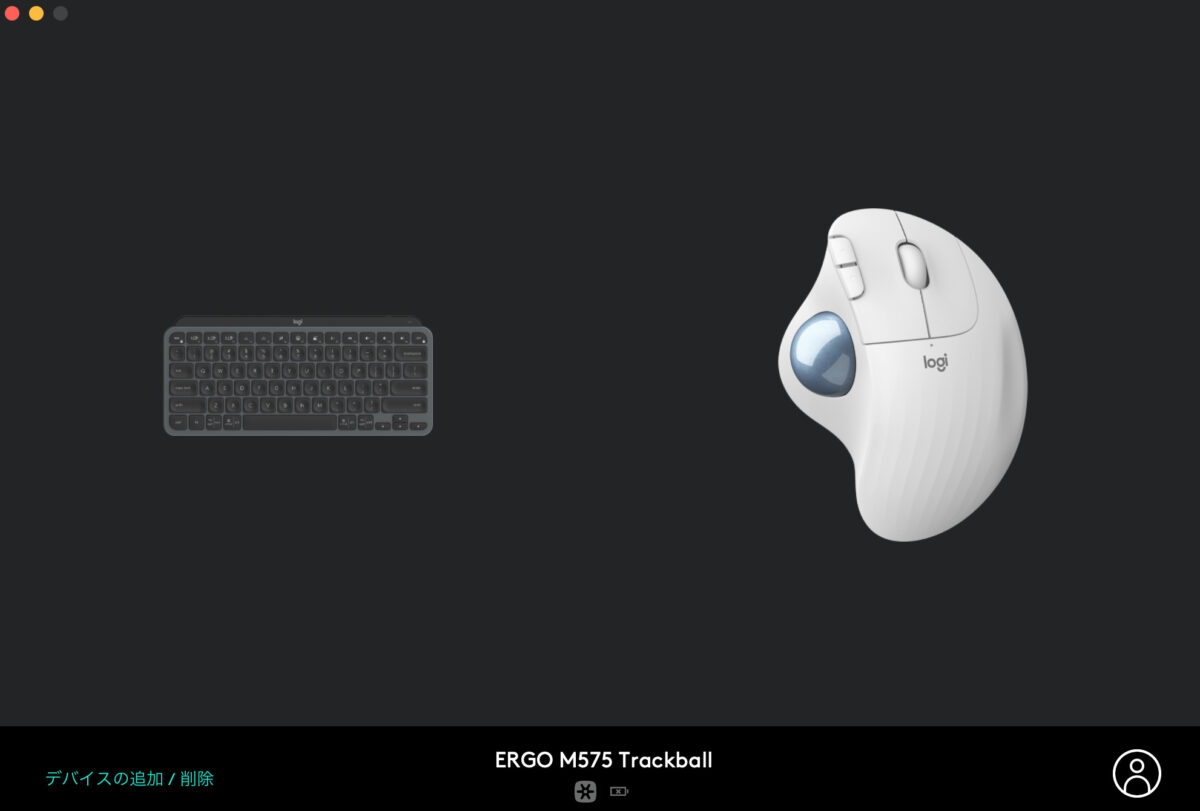
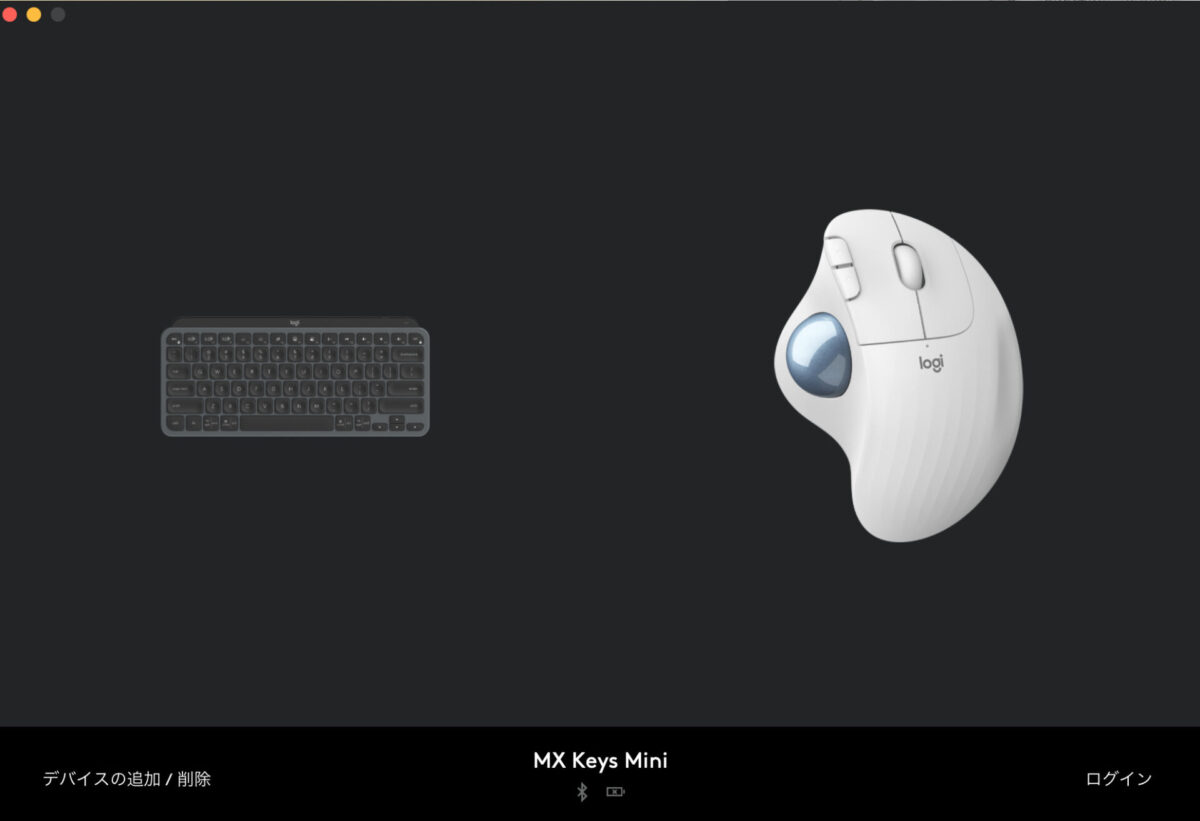
先程インストールしたLogicool Optionを起動します。
こちらのように、左下の「デバイスの追加/削除」ボタンからデバイスを追加することができます。
一つ一つ順番に設定方法を解説します。
Logicool Optionにログインする
Fuyutsuki必要に応じて、Logicool Optionsにログインしましょう。
設定が保存されるなど何かと便利なので、アカウント登録して良いと思います。
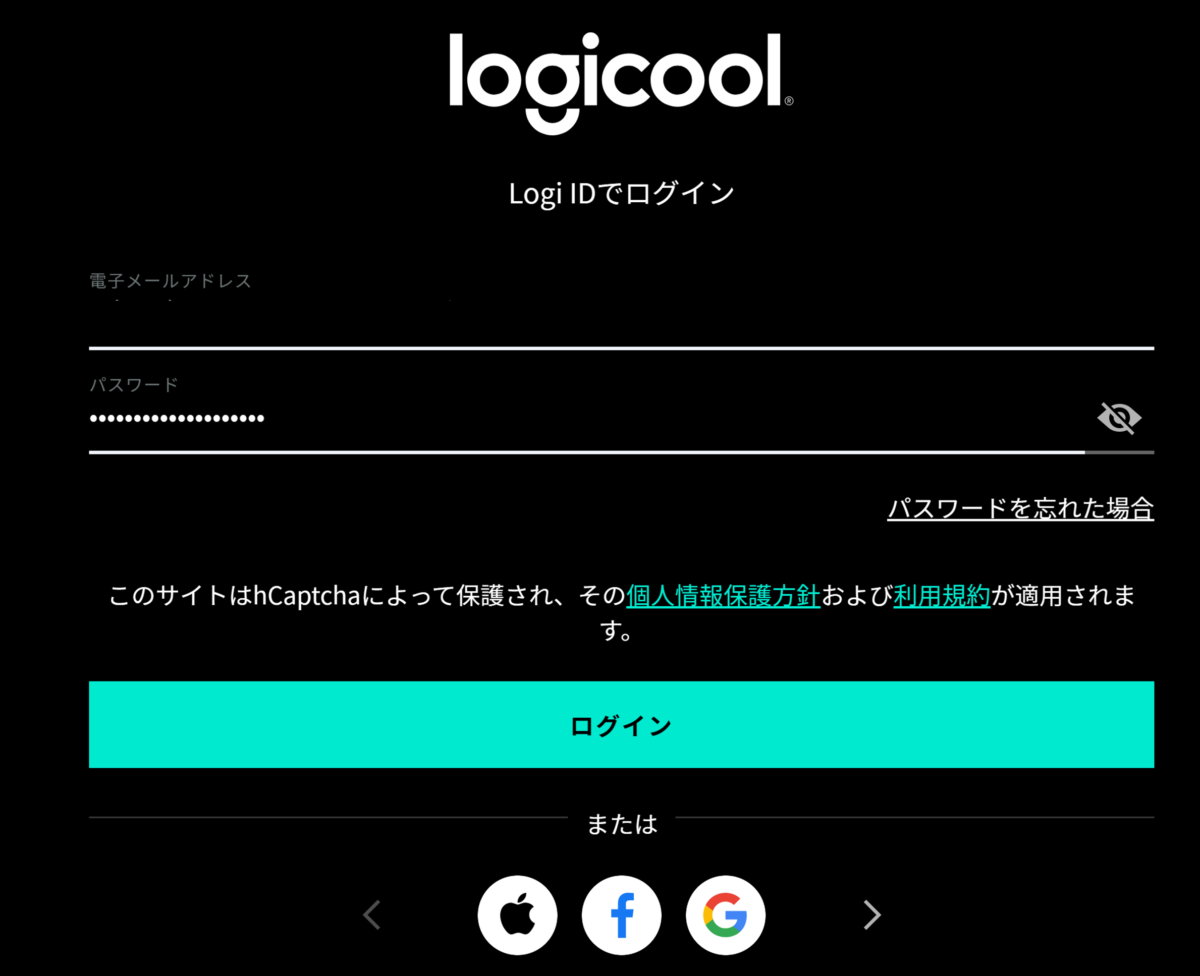
画面右下の「ログイン」ボタンをクリックします。ブラウザが起動するので、Log IDのアカウントを持っていない方は下部からアカウント登録を、既にアカウントをお持ちの方はメールアドレスとパスワードを入力してログインしましょう。
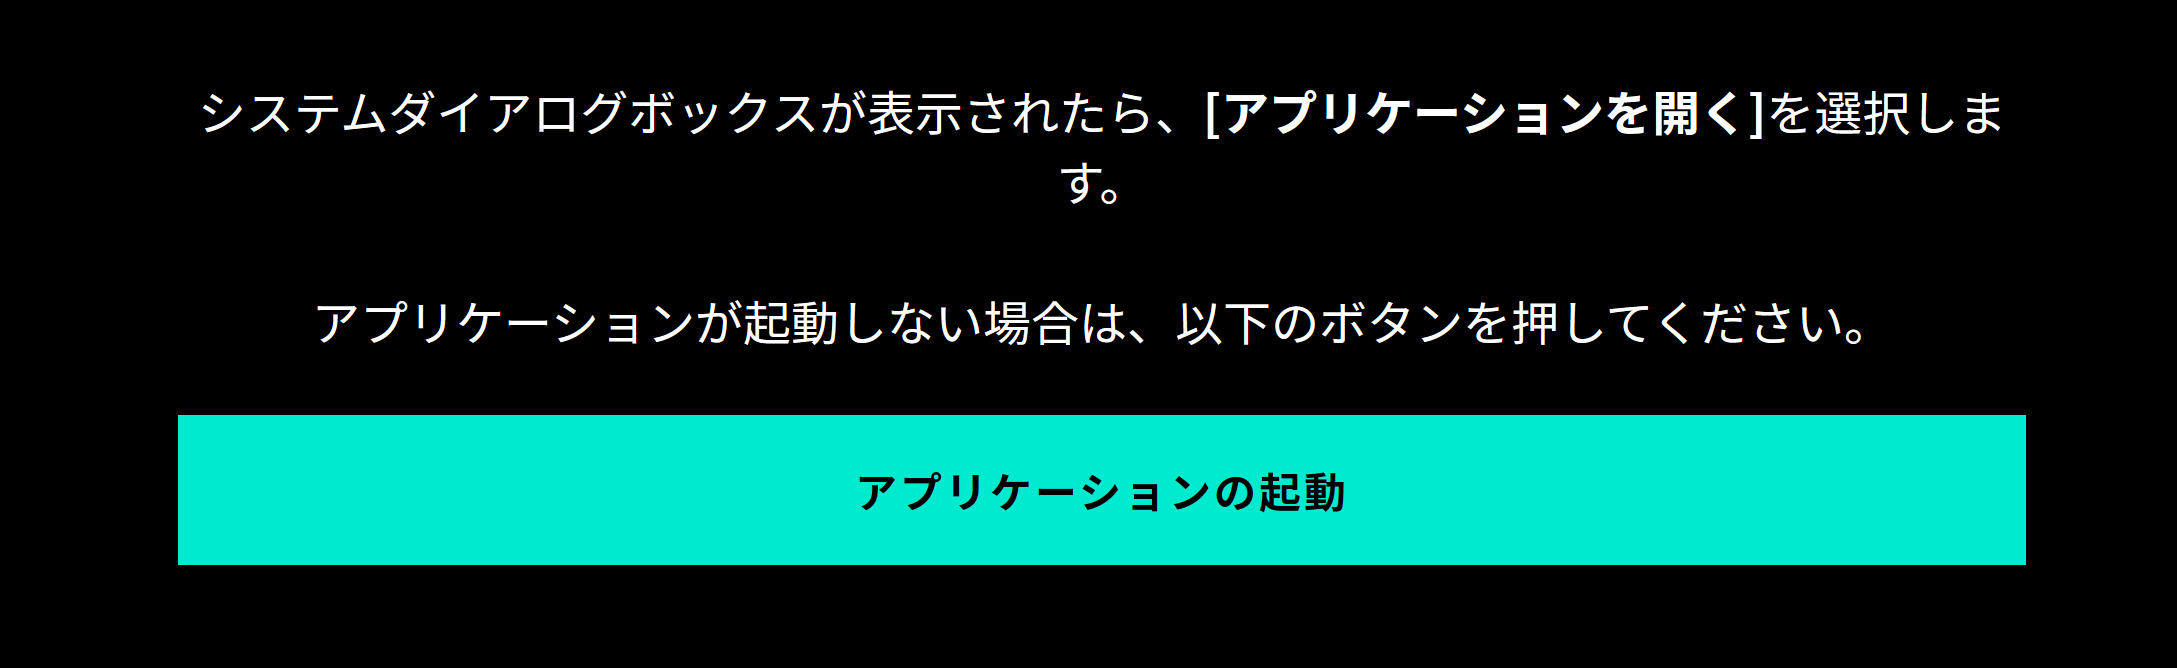
ログインボタンをクリックすればシステムダイアログボックスが開くはずですが、開かない場合はこちらの「アプリケーションの起動」ボタンをクリックしましょう。
これで無事にLogicool Optionsにログインすることができます。
ログインが完了すると、Logicool Optionsの右下が人のアイコンに切り替わります。

Logicool Optionsにデバイスを追加する
Fuyutsuki準備が完了したので、いよいよデバイスを追加していきます。
Logicool Optionsの左下「デバイスの追加/削除」をクリックします。
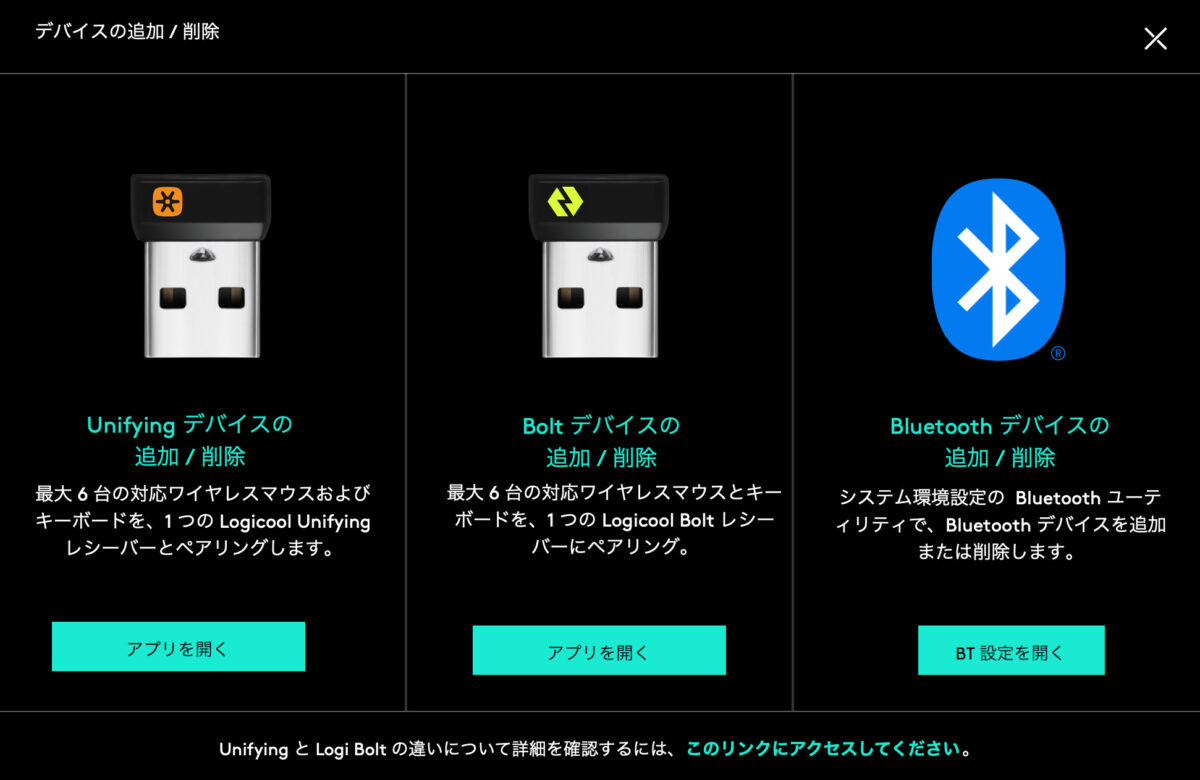
デバイスに応じて3種類の追加方法が用意されています。
- Unifying デバイスの追加 / 削除
- Bolt デバイスの追加 / 削除
- Bluetooth デバイスの追加 / 削除
FuyutsukiUnifying デバイスやBolt デバイスは、マウスやキーボードを購入した際に付属されています!
Unifying デバイスとBolt デバイスの追加手順
Unifying デバイスもBolt デバイスも同じ手順で追加することができます。
Fuyutsuki基本的には画面の手順に従うだけで追加できます
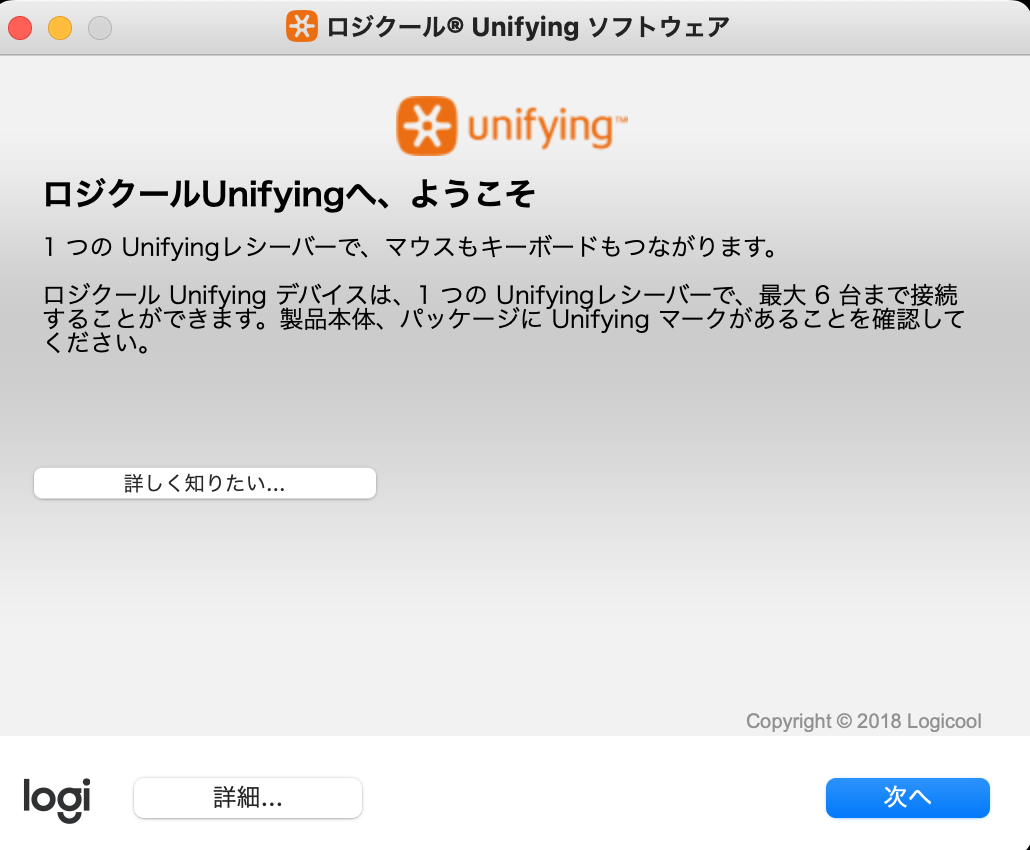
ここではUnifying デバイスを例に説明します。まずは「アプリを開く」をクリックします。
アプリを開いたら「次へ」をクリックします。
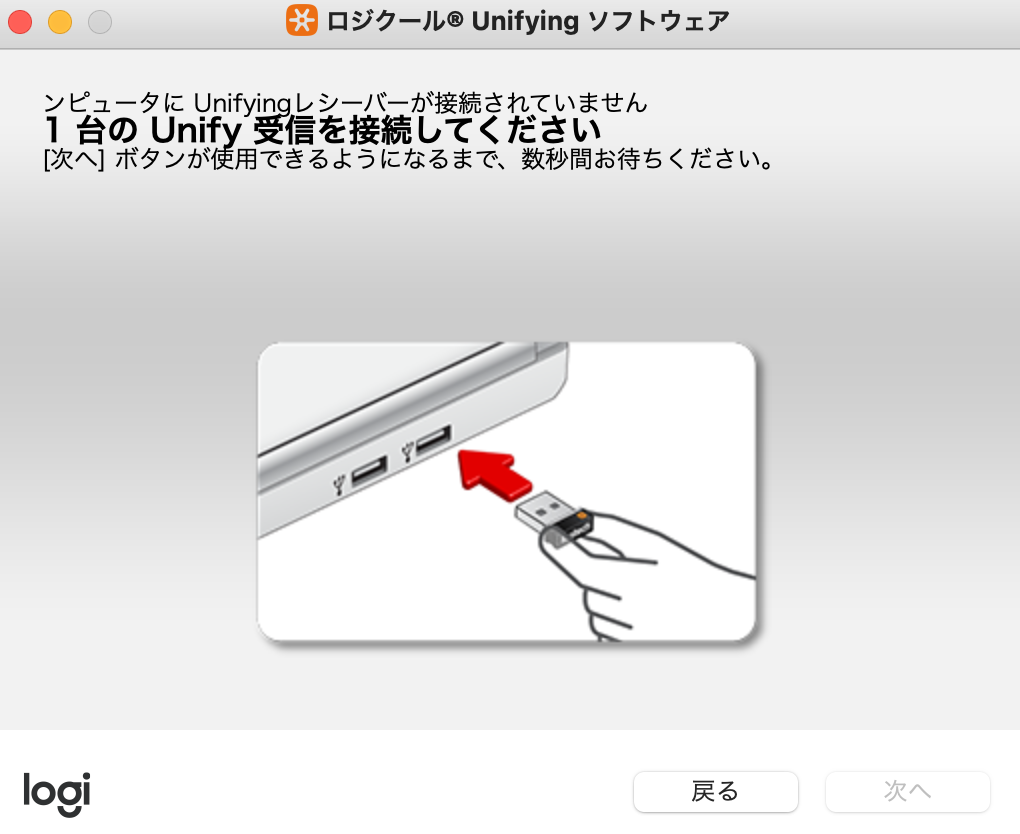
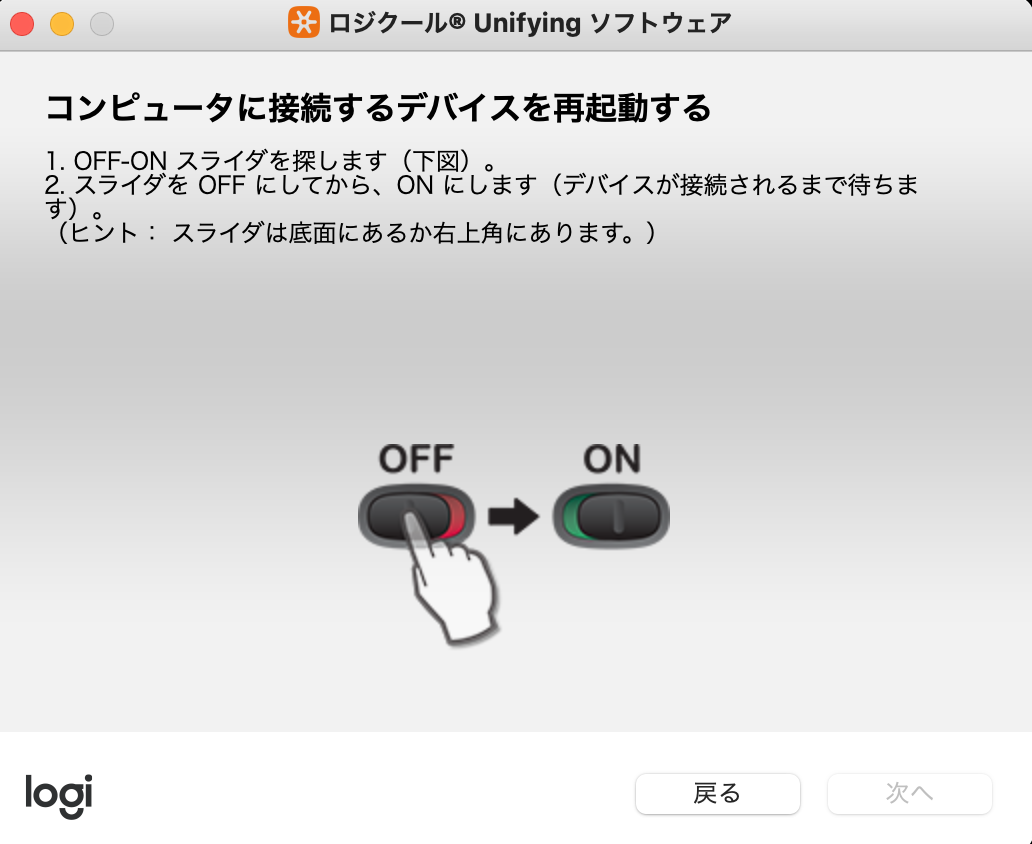
コンピュータにUnifying レシーバーを接続して「次へ」をクリックします。
コンピュータに接続するデバイスを再起動します。認識されたら「次へ」をクリックします。
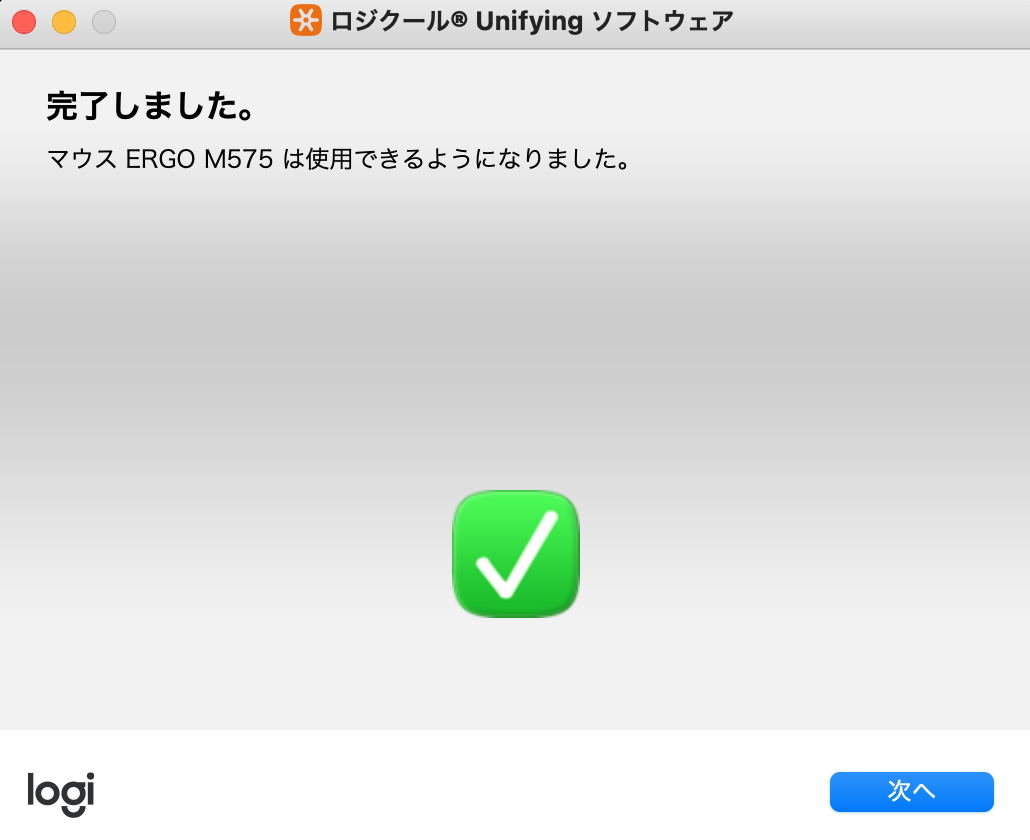
このような画面になれば、デバイスの追加は完了です。
Bluetooth デバイスでの追加手順
Bluetooth対応のデバイスであれば、Bluetoothで接続するのもありです。
Fuyutsuki私の経験上、LogicoolのマウスやキーボードであればBluetooth接続でも安定しています。
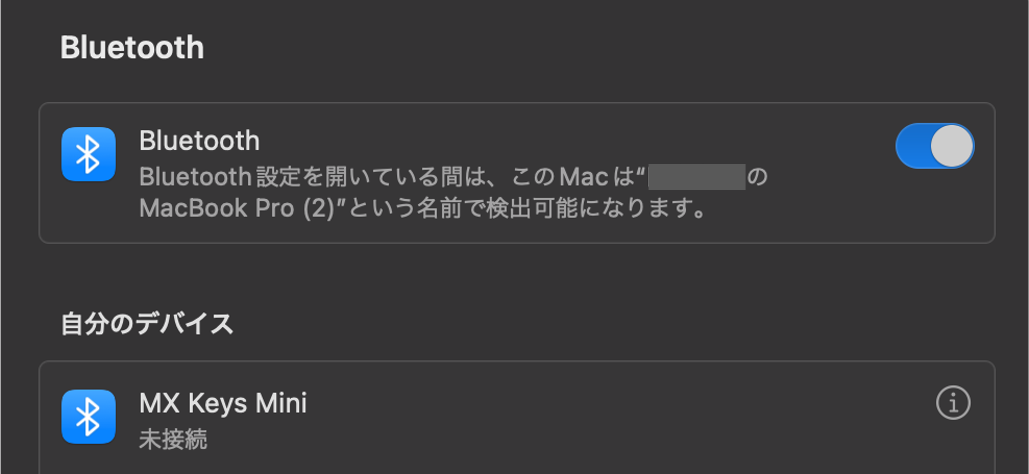
「デバイスの追加/削除」をクリックした後、「BT設定を開く」をクリックします。
Bluetooth設定の画面が開くので、こちらの画面のようにBluetoothをONにして、マウスやキーボードを追加しましょう。
Logi Optionsの使い方
Logi Optionsでマウスを設定する
まずはマウスの設定方法から説明します。
Logi Optionsにマウスを追加するとこちらのような画面になります。

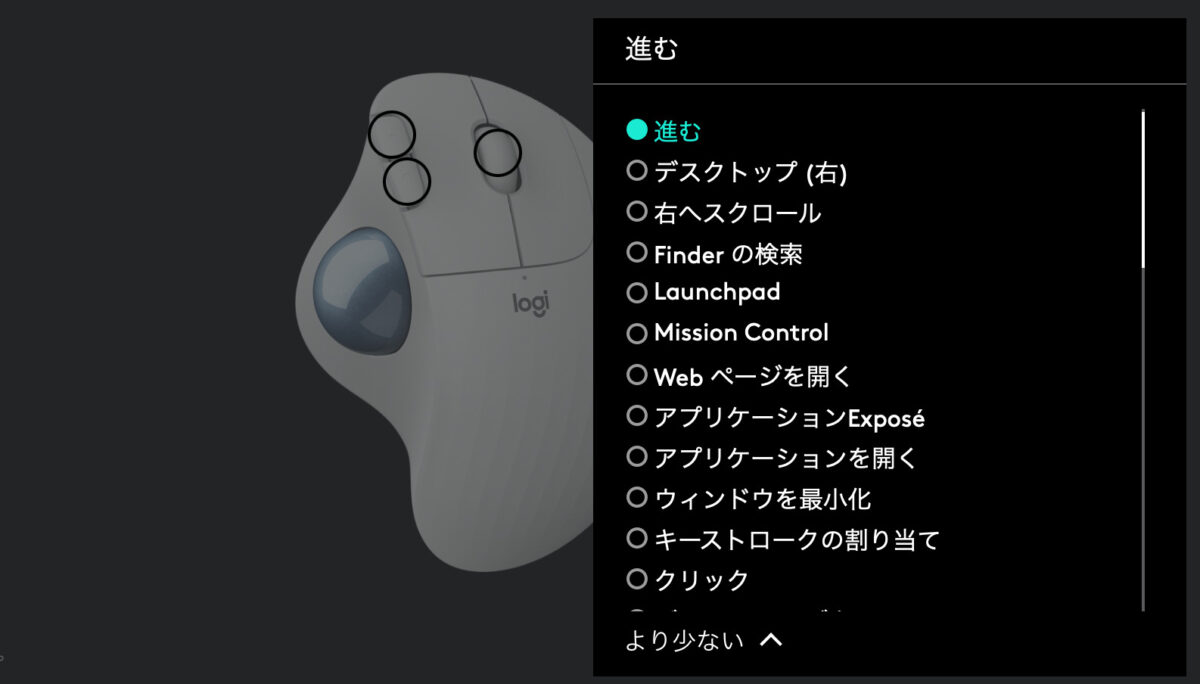
“トラックボール”のタブで、マウスのボタンについて個別に設定できます。
Fuyutsukiマウスのボタンに好みのアクションを設定していきましょう。
私はマウスの中央ボタンはMacではMission Controlに設定しています。
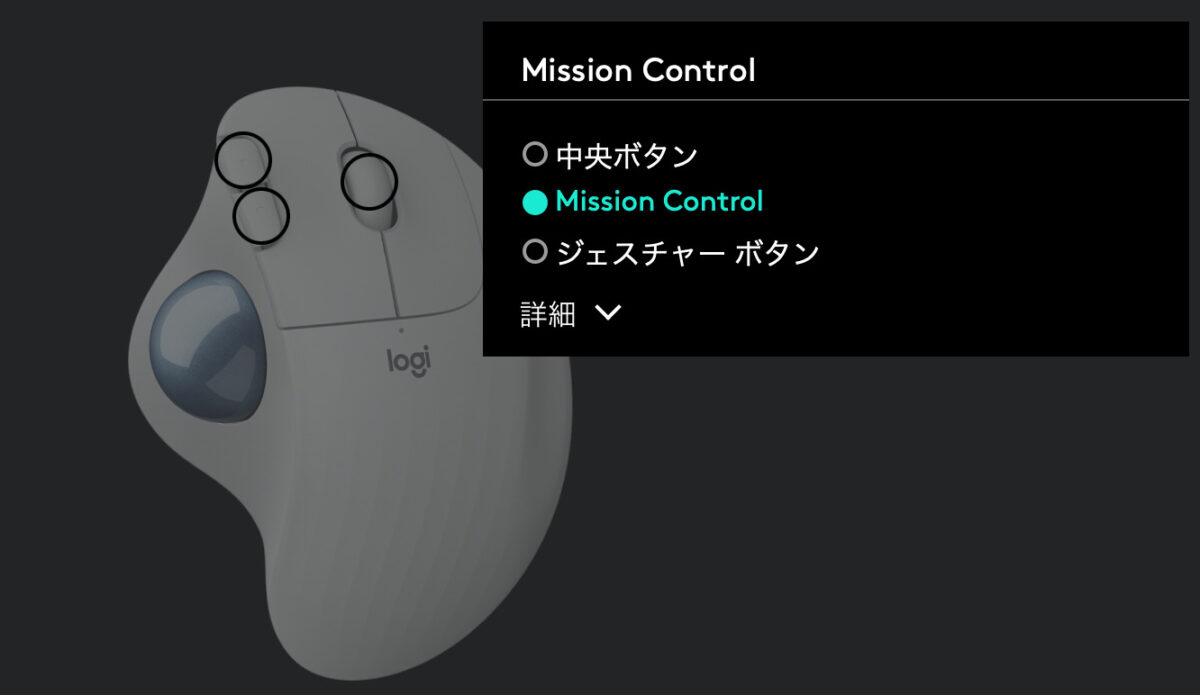
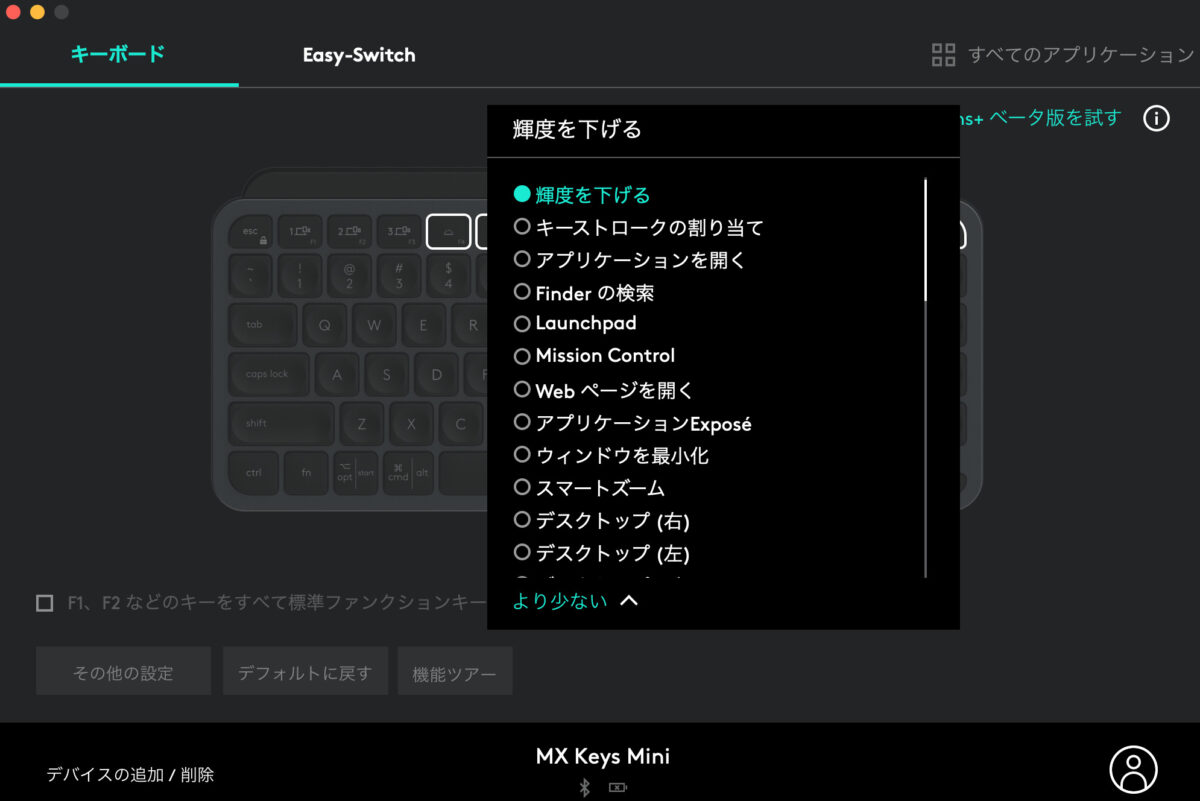
「詳細」をクリックすると多くの種類から好みのアクションを設定できます。
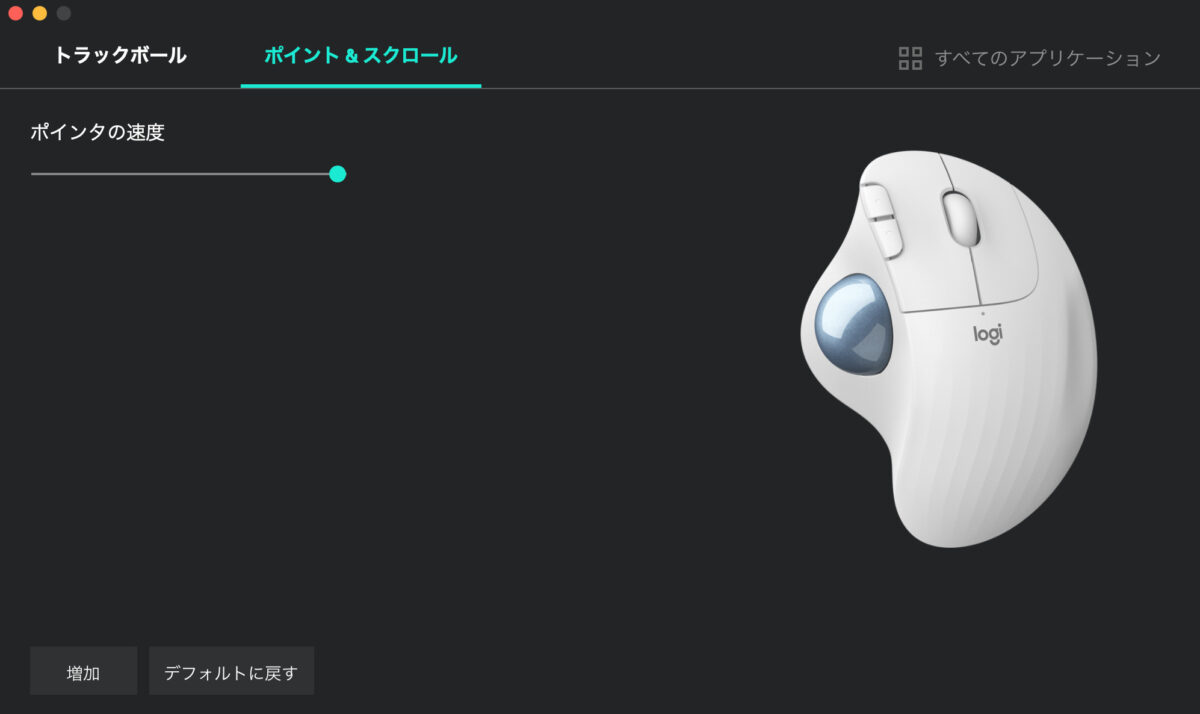
「ポイント & スクロール」のタブではポインタの速度を設定できます。
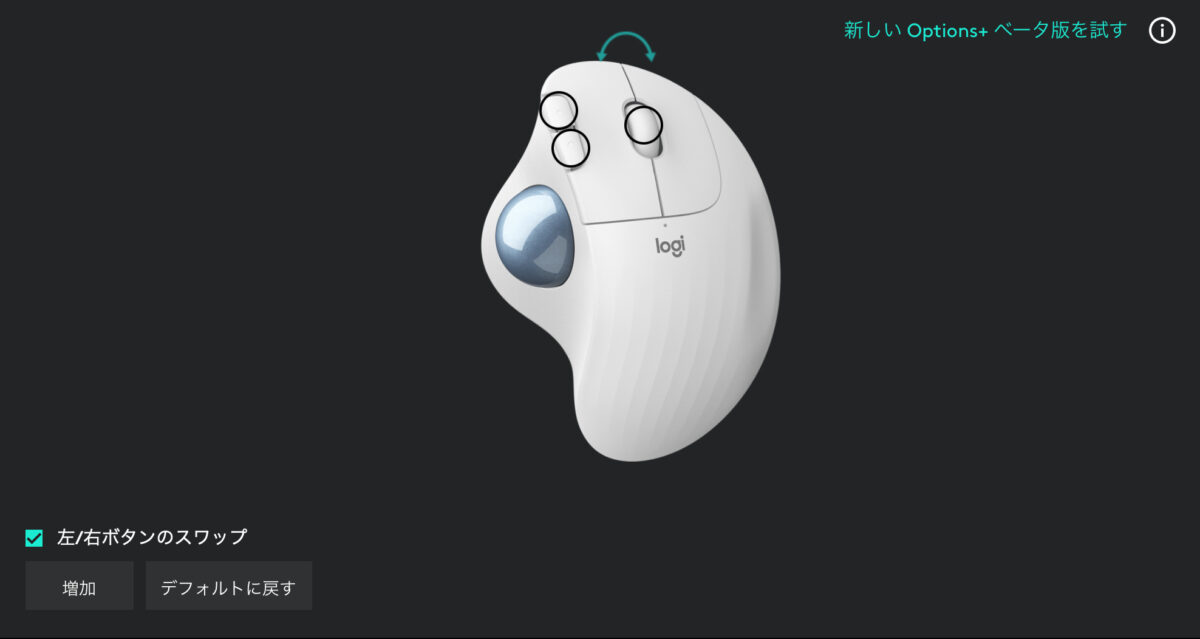
好みにもよりますが、「左/右ボタンのスワップ」にチェックを入れると、ボタンをスワップすることもできます。
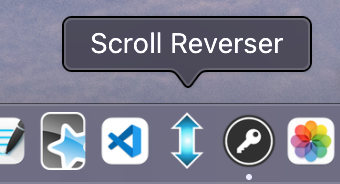
マウスの設定に合わせてインストールしたいソフト
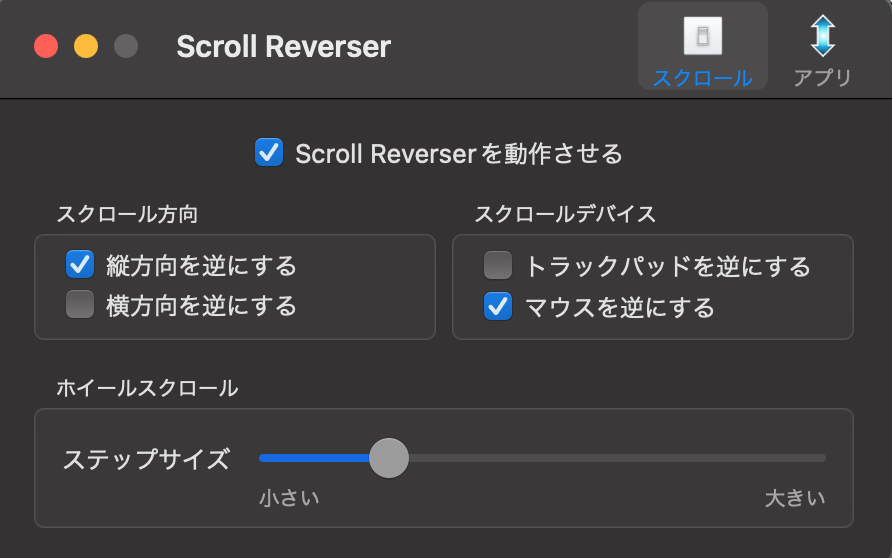
そんな時に重宝するのがScroll Reverserというアプリです。
以下のサイトからアプリをダウンロードできます。
https://pilotmoon.com/scrollreverser/
起動すると、マウスのスクロールを逆転させることができるというシンプルなアプリです。
マウスのスクロールについて、細かい設定を行うこともできます。
Logi Optionsでキーボードを設定する
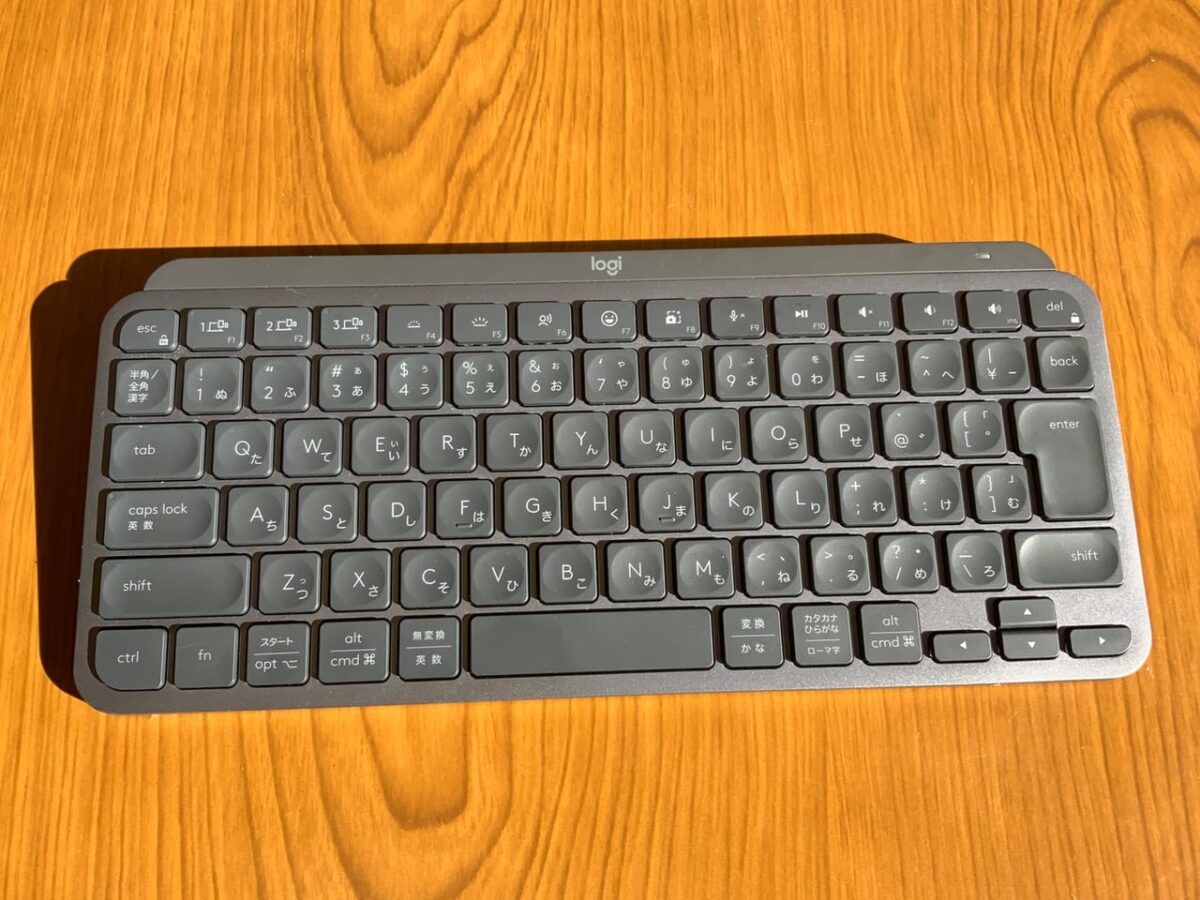
こちらの記事で紹介している私が愛用しているMX Keys Miniの設定方法を例に解説します。
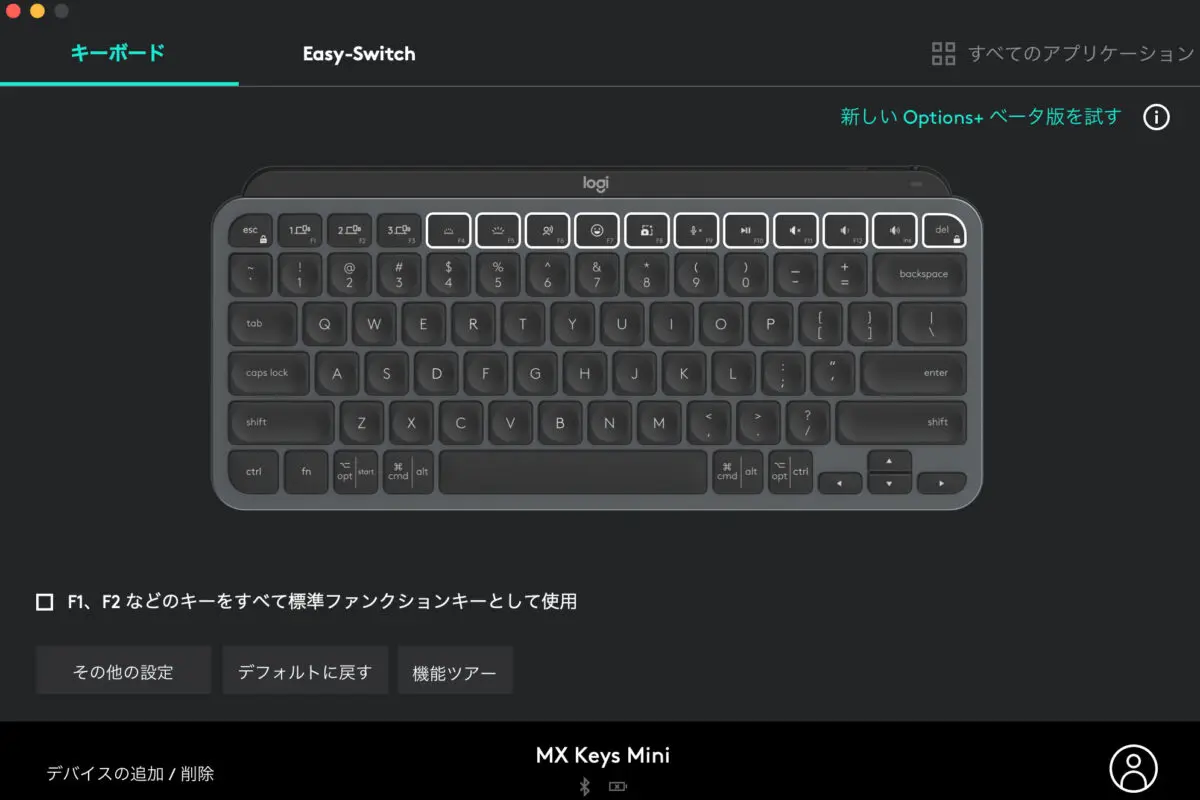
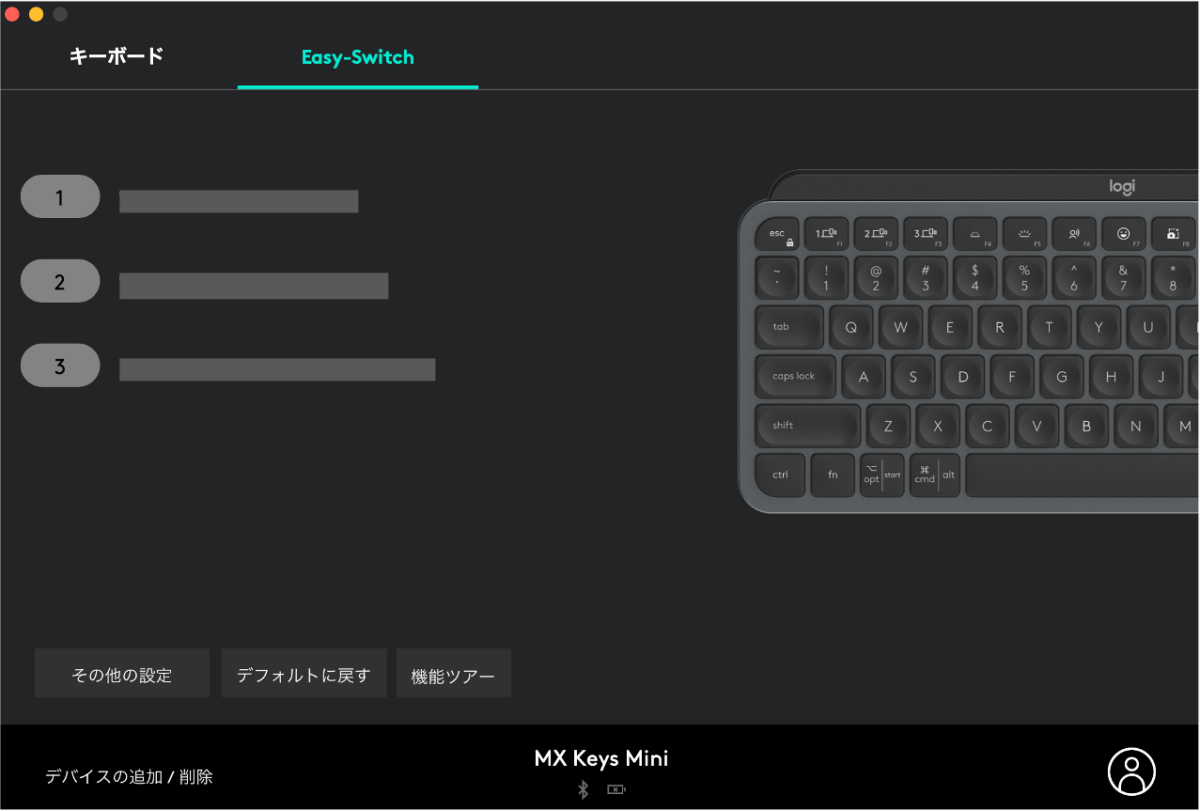
Logi Optionsでキーボードを追加するとこちらの画面のようになります。
 Fuyutsuki
手の届きやすいFキーによく使うアクションを設定しましょう。
Easy-Switchのタブから切り替えるデバイスについて設定できます。
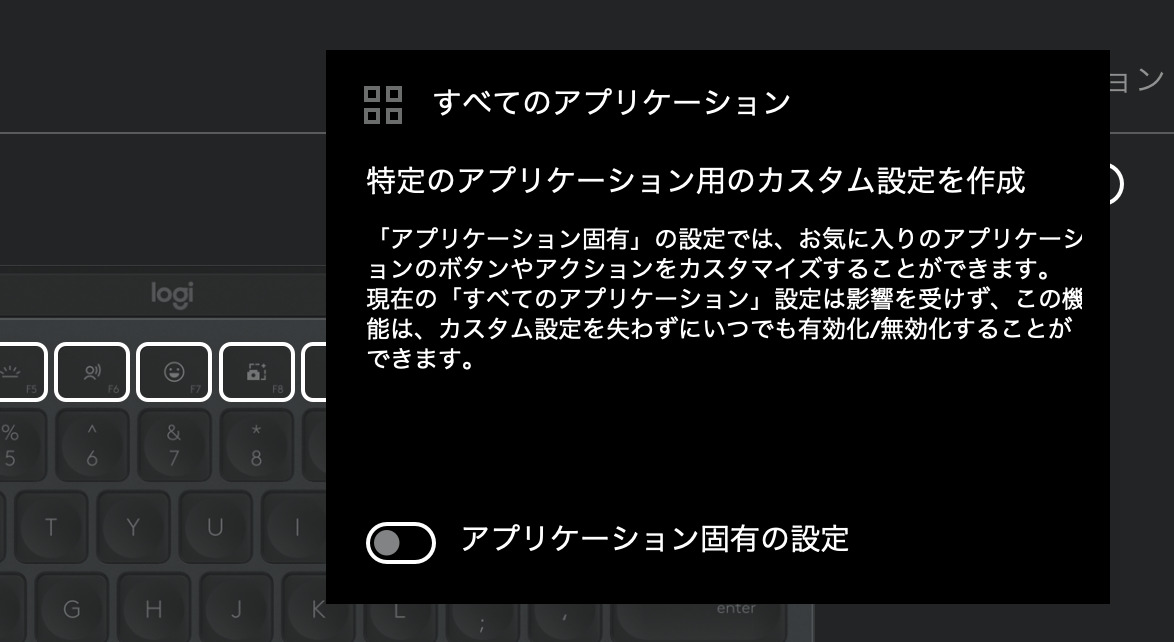
画面右上の「すべてのアプリケーション」をクリックし、「アプリケーション固有の設定」をONにすると、アプリケーション毎に個別で設定することもできます。
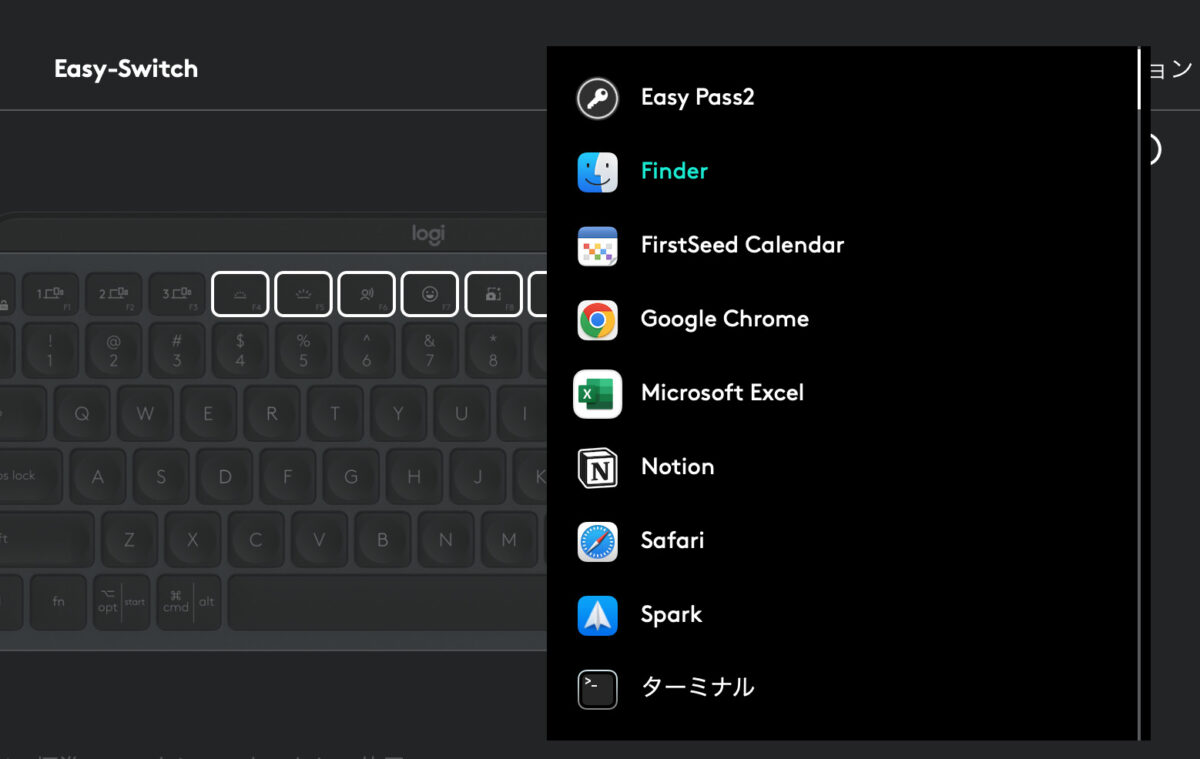
こちらのように、アプリケーション毎に固有の設定をすることもできます。
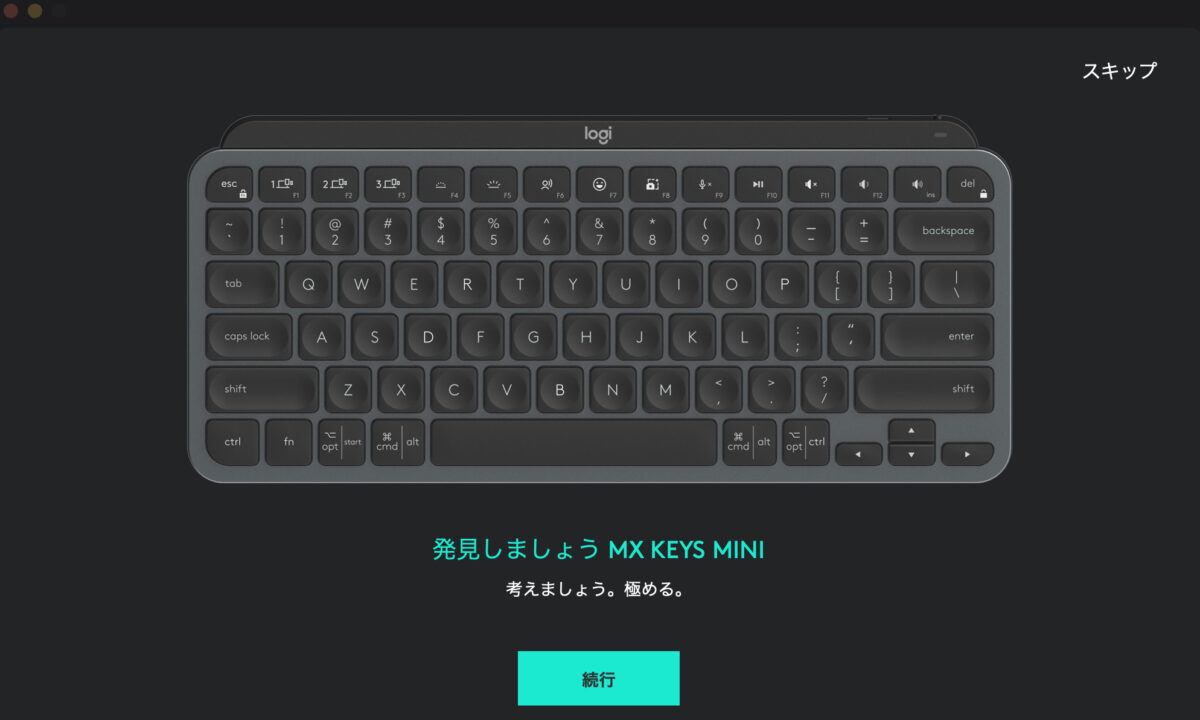
「機能ツアー」をクリックすると、登録したデバイスの特筆すべき機能の紹介を確認することもできます。
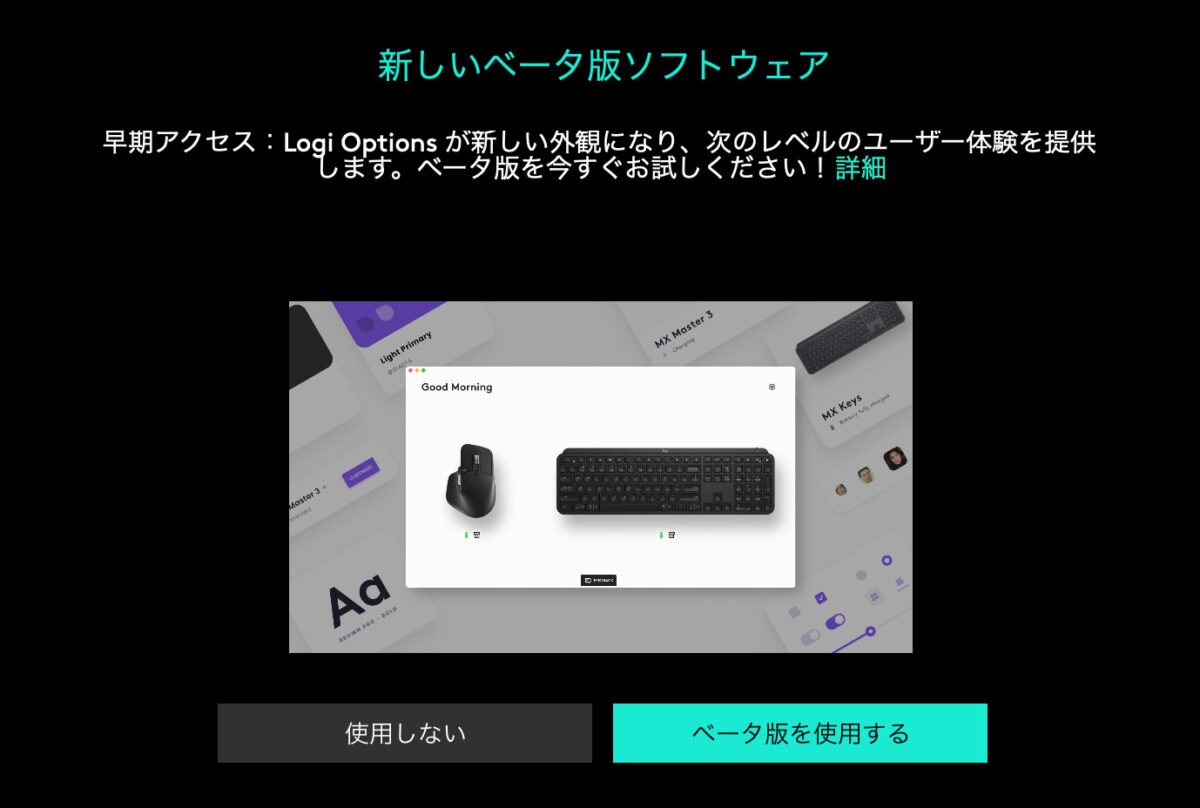
「新しいOptions +β版を試す」をクリックするとOptions+β版を試すこともできます。
こちらについては後ほど記事にしますので、楽しみにお待ちください。
まとめ:Logicool Optionsの機能を存分に活用しよう!
今回の記事では、Logicool Optionsのインストールから設定、使い方まで紹介してきました。
Logicool製のマウスやキーボードはとても便利だと日々痛感しているので、ぜひ設定してみてくださいね!
Logicool Optionsを使用していた時に起こるトラブル対処法についてはこちらの記事にまとめています。何か困った時の参考にどうぞ。
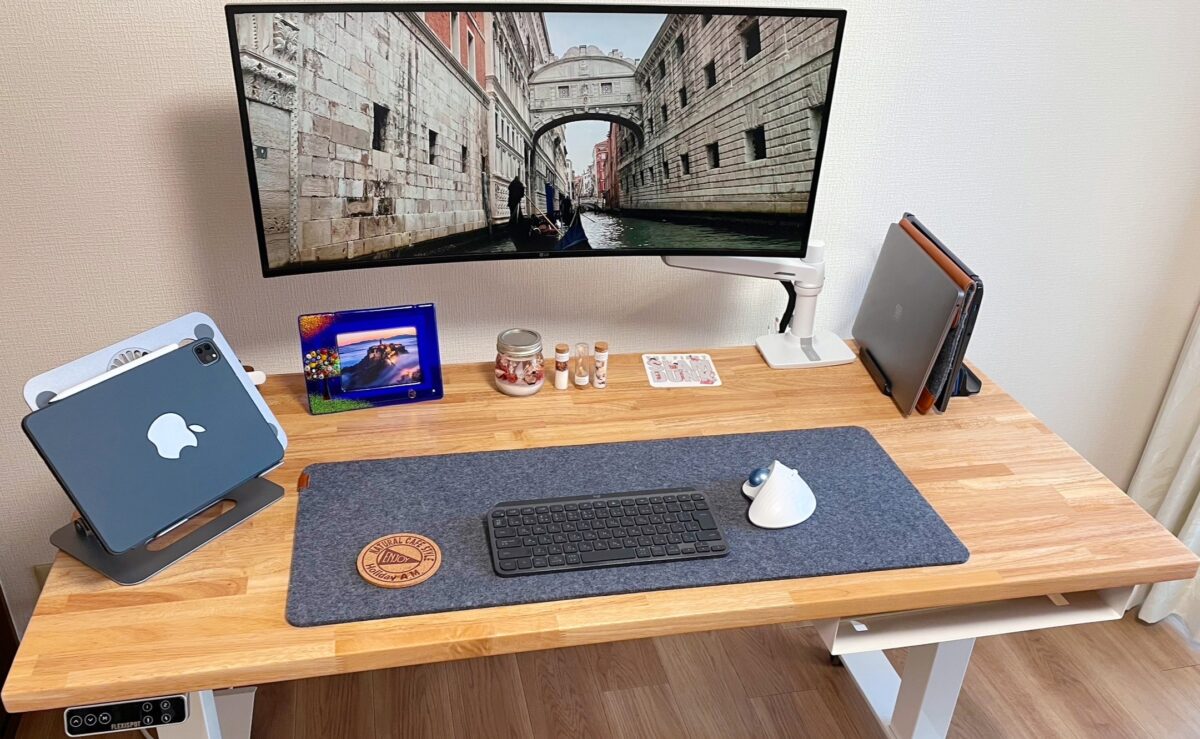
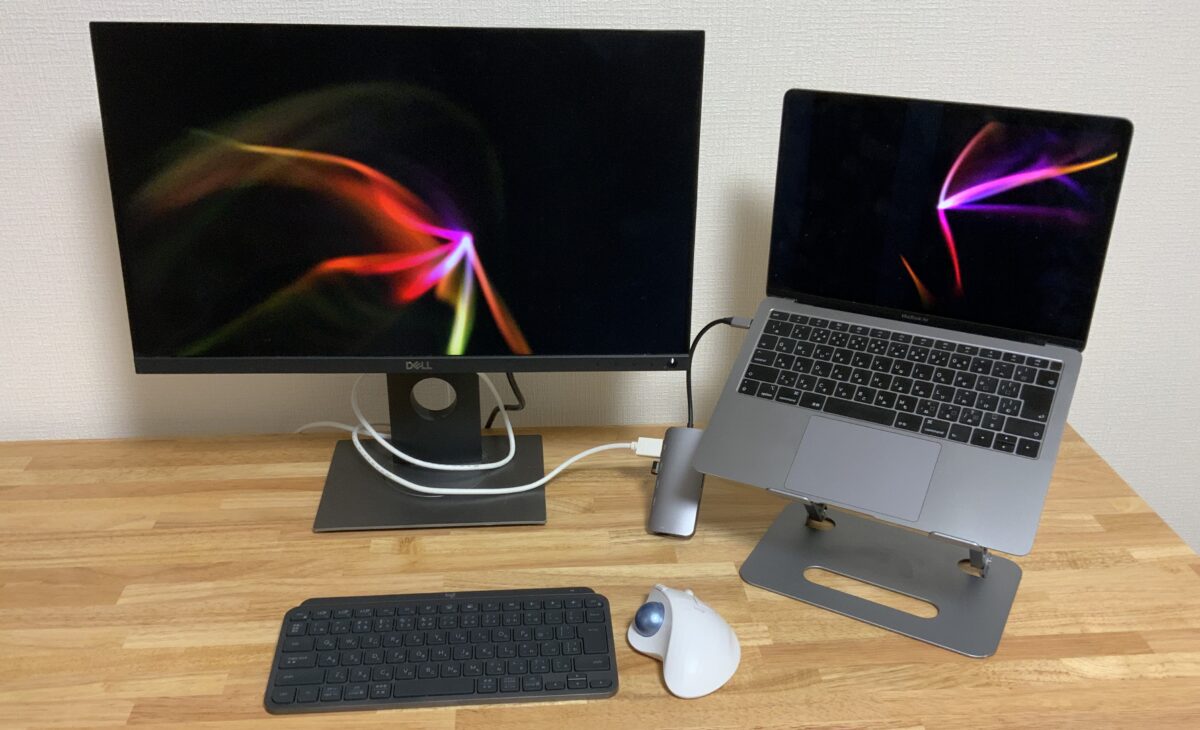
私のデスク環境についてはこちらの記事で解説していますので、ぜひご参考までに。
私が愛用しているキーボードやマウスについてはこちらの記事で紹介しています。
私の記事では、ガジェットやデスク環境についての情報を発信しているので、ぜひまた記事を読みに来てください!