

こんにちは、fuyutsukiです。
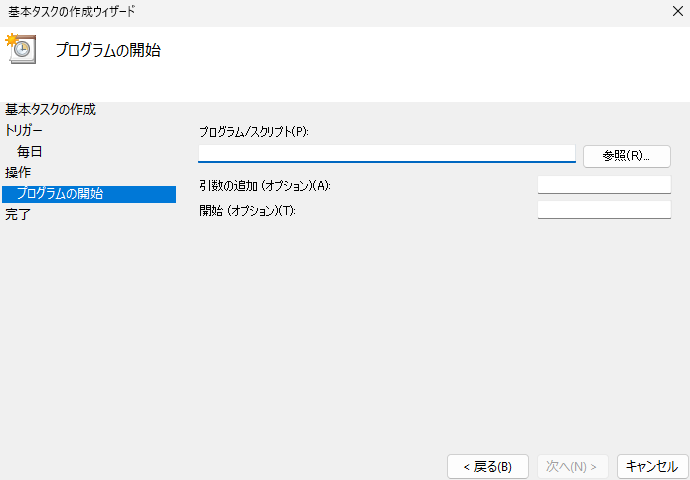
PCを起動しなくてもプログラムを自動で実行したいと思ったことはありませんか?
 Fuyutsuki
Windows Serverを使うと、PCでの自動化をいつでも行うことができるようになります。
具体的には以下のような事をやりたい方はWindows Serverを検討してみることをおすすめします。
- PCを起動しなくてもプログラムを実行したい方
- 自動化する上でOfficeも経由する方(例えばExcelと連携した自動化をするなど)
- VPSやネットワークの勉強をしてみたい
- MT4/MT5をインストールしたい方
私はもともとConoHa VPSを利用していたため、まずConoHa for Windows Serverの利用を検討したのですが、値段が高く断念してしまいました。
Fuyutsuki必要なスペックが備わったプランを料金を抑えて利用できることが魅力でした。
\ 10日間の無料体験期間あり/
この記事を読むと分かること
- ABLENET VPSのプラン概要及びおすすめの人
- ABLENET VPSのメリット・デメリット
- ABLENET VPSの申し込み手順
- WindowsとMacそれぞれでの使い方
ABLENET VPSの概要・料金プラン

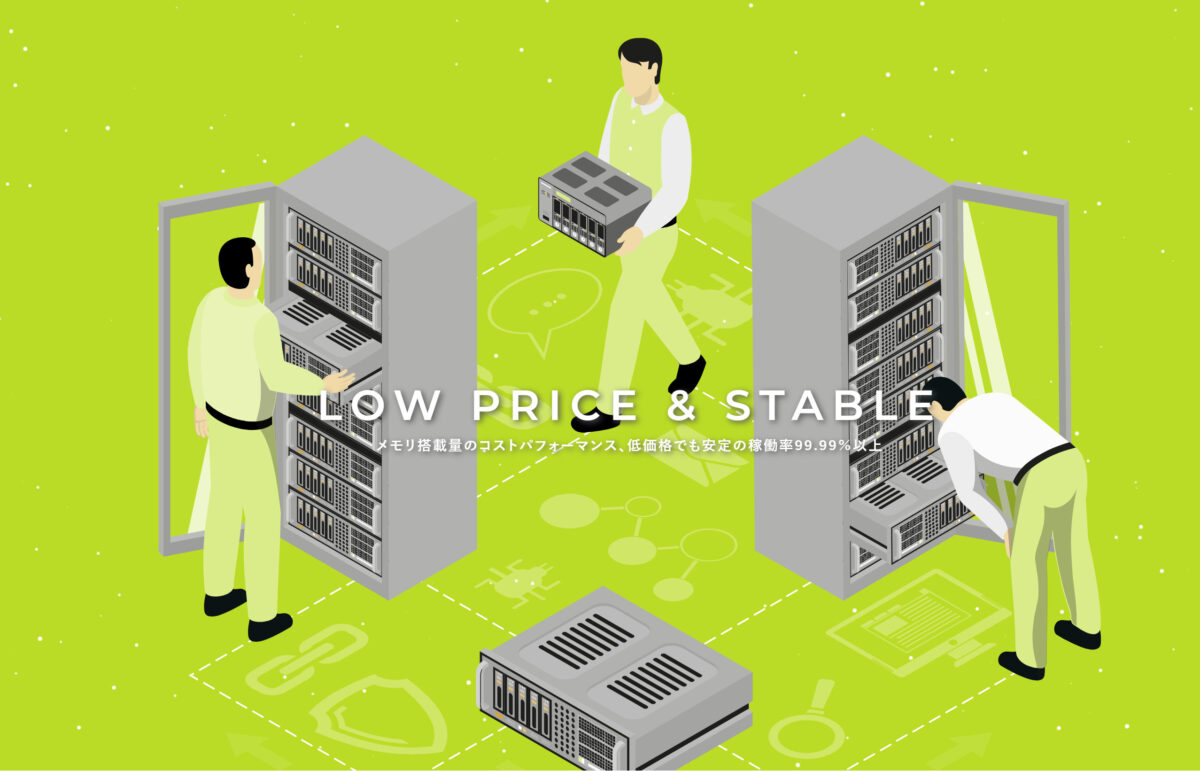
>>こちらの公式サイトあるように、ABLENET VPSでは、メモリ搭載量のコストパフォーマンス、低価格でも安定の稼働率99.99%以上を掲げています。
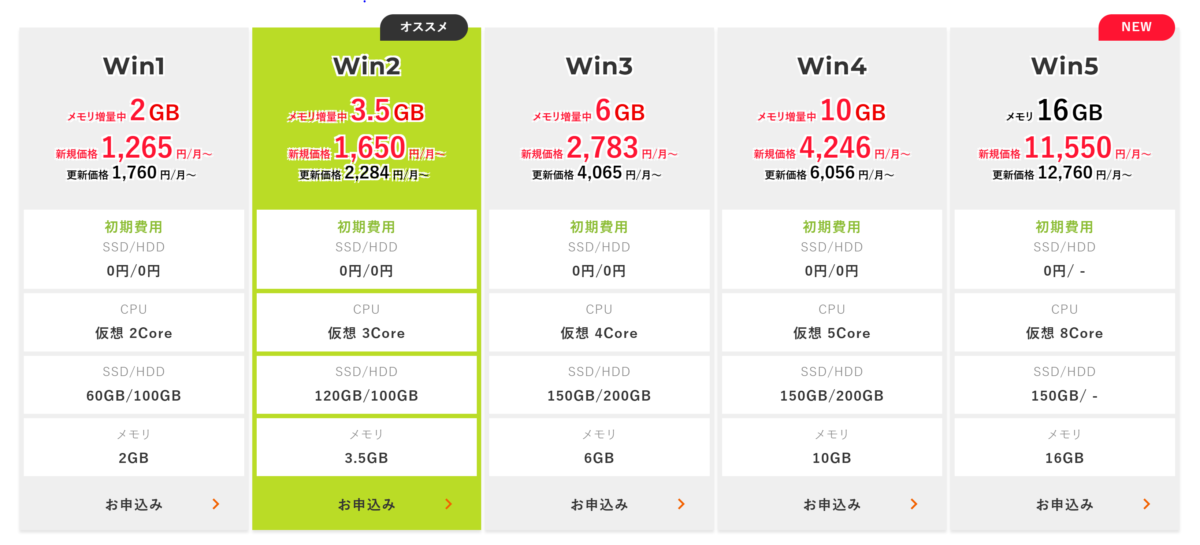
料金プランは以下の通りです。
| サービスプラン | 初期費用 | 月額費用 | CPU | メモリ | ストレージ |
|---|---|---|---|---|---|
| Win1 | 0円 | 1265円~(税込) | 2Core | 2GB | SSD 60GB |
| Win2 | 0円 | 1650円~(税込) | 3Core | 3.5GB | SSD 120GB |
| Win3 | 0円 | 2783円~(税込) | 4Core | 6GB | SSD 150GB |
| Win4 | 0円 | 4246円~(税込) | 5Core | 10GB | SSD 150GB |
| Win5 | 0円 | 11550円~(税込) | 8Core | 16GB | SSD 150GB |
FuyutsukiABLENETは必要なスペックを料金を抑えて利用できることが特長ですね。
ABLENET VPS Windowsプランのメリット・デメリット
ABLENET VPS Windowsプランのメリット
ABLENET VPSのメリットとしては以下のようなものが挙げられます。
ABLENET VPS Windowsプランの主なメリット
- スペックに対して料金が安い
- データ転送量無制限
- データ転送速度が速い(200Mbps)
- MT4/MT5をインストールできる
- 10日間の無料体験期間あり
Fuyutsuki料金が安いことと、無料体験できることが特にポイント高いです。
まずは無料体験で試してみてから、更新するかどうかを検討してみてはいかがでしょうか。
ABLENET VPS Windowsプランのデメリット
一方で、主なデメリットとしては、以下のようなことが挙げられるかと思います。
ABLENET VPS Windowsプランの主なデメリット
- サポートはメール対応のみ
- サーバーの自動バックアップ機能はない(手動バックアップは可能)
Fuyutsuki私はこれらのデメリットが気にならなかったので利用することにしました。
ABLENET VPS Windowsプランの申し込み手順(無料体験期間あり)
ABLENET VPS Windowsプランの申し込み手順
ABLENET VPS Windowsプランの申し込み手順について詳細に解説していきます。
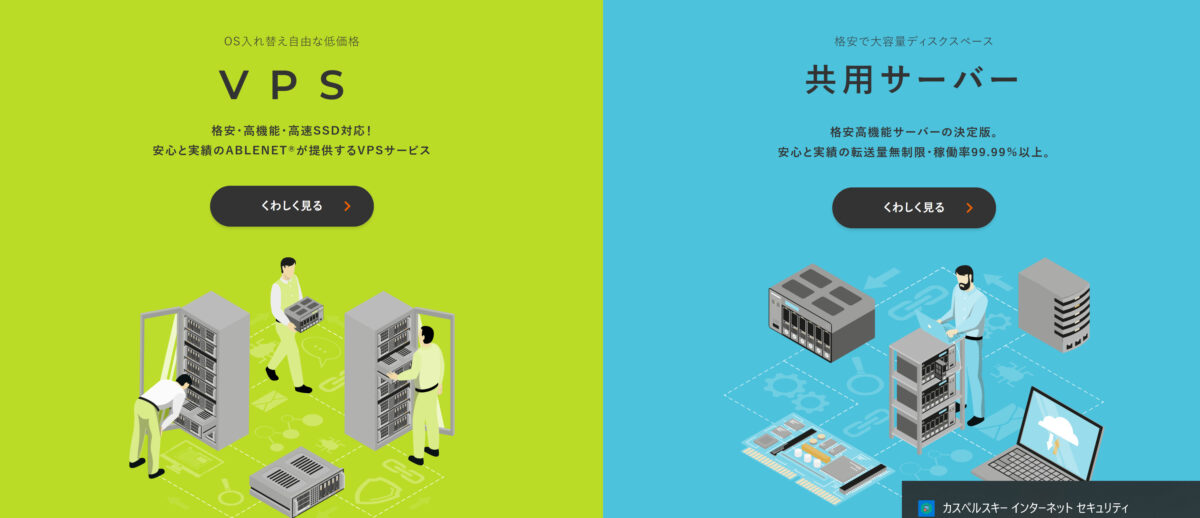
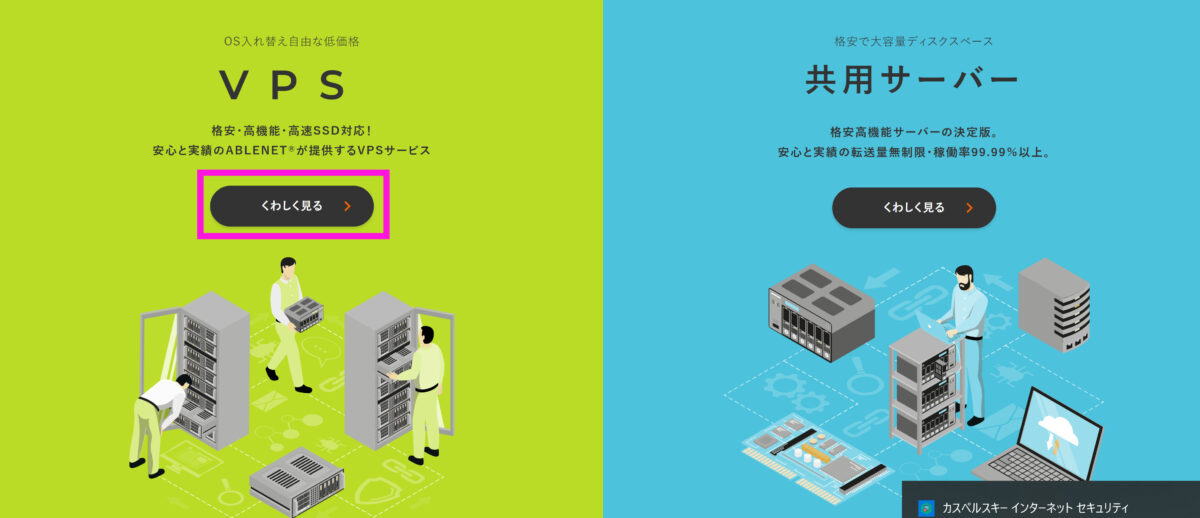
ABLENET VPS公式サイトにアクセス出来たら、VPSの「くわしく見る」をクリックします。
料金プランの画面が表示されるので、お好みのプランをクリックします。ほとんどの方はWin1プランかWin2プランで十分なスペックとなります。
Fuyutsukiここでは、Win2プランをクリックします。

プランの選択画面に移動するので、「Windowsプラン」が選択されていることを確認します。
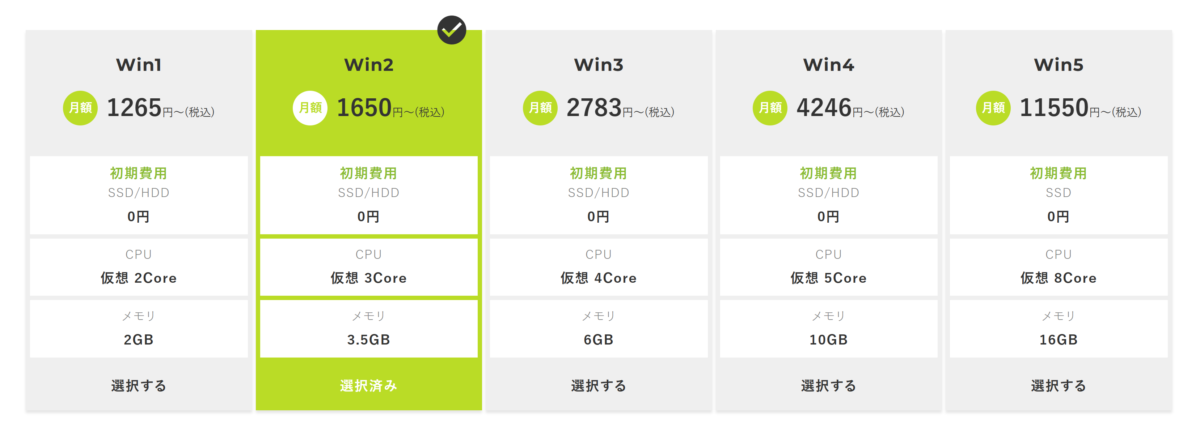
先程選択したプランが選択できていることを確認します。

ストレージをHDDとSDDか選択します。
FuyutsukiSSDの方が速度が速くなるのでおすすめです。

お試しで利用する方は「クレジットカード試用期間あり」を選択します。
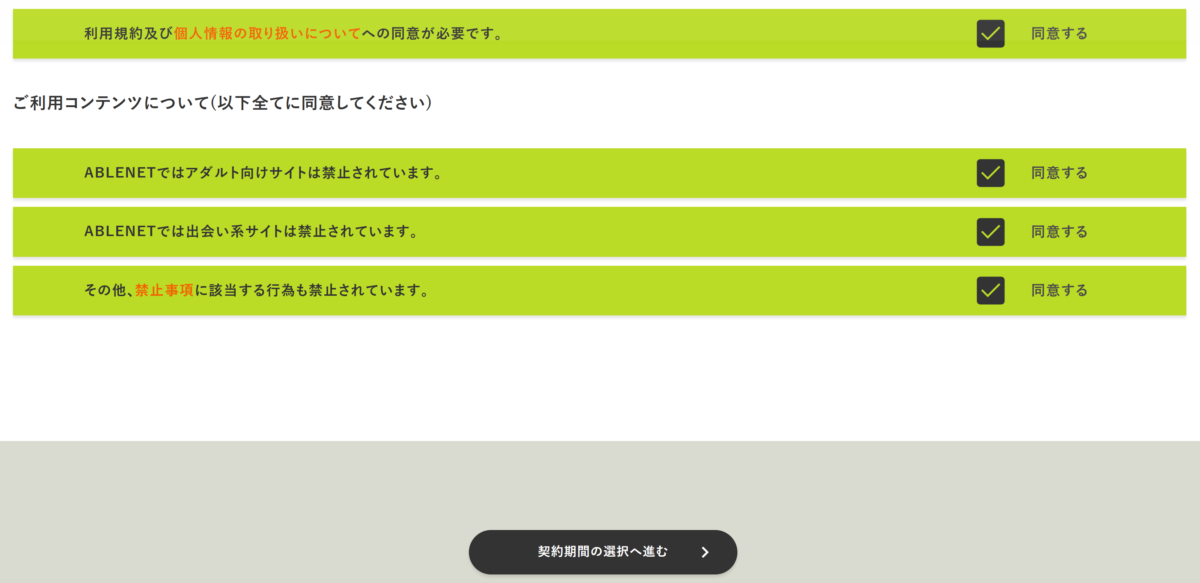
利用規約に同意し、「契約期間の選択へ進む」をクリックします。

サーバーの契約期間を選択します。長期契約をするほど割引にはなります。
Fuyutsuki私は月払いか6ヶ月払いで試してみて、その後に年払いで契約するようにしています。
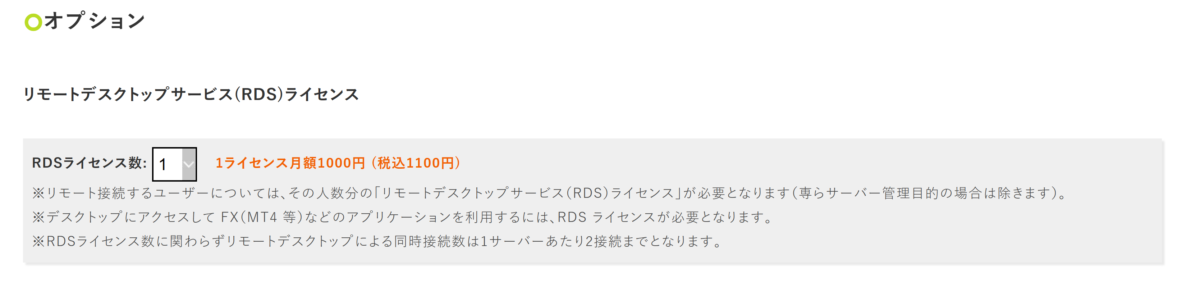
リモートデスクトップサービス(RDS)ライセンスを用途に応じて選択します。必要なければ0に、必要かもしれないと思う場合は1に設定しておくと良いと思います。
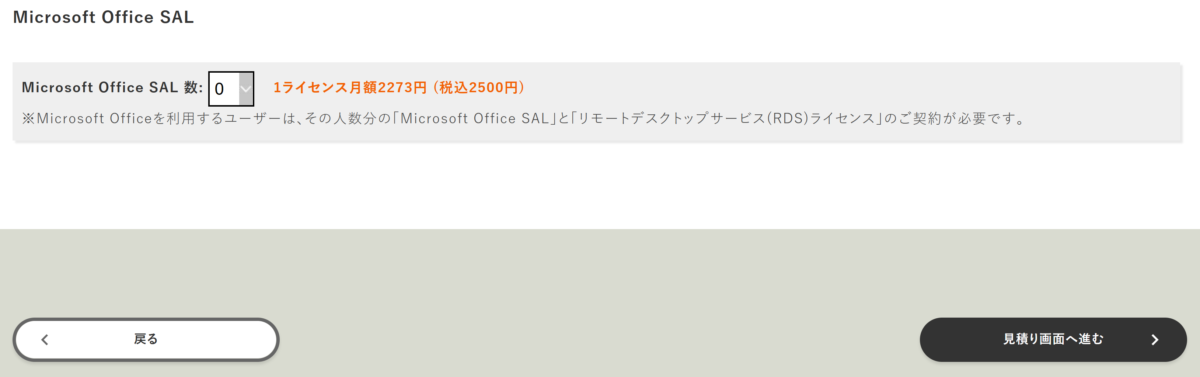
Microsoft Officeを利用しない場合はデフォルトのまま0でOKです。
FuyutsukiExcelと連携して自動化したいといった場合にはいずれライセンスを申し込むと良いと思います。
ここまで終わったら、画面右下の「見積画面へ進む」をクリックします。
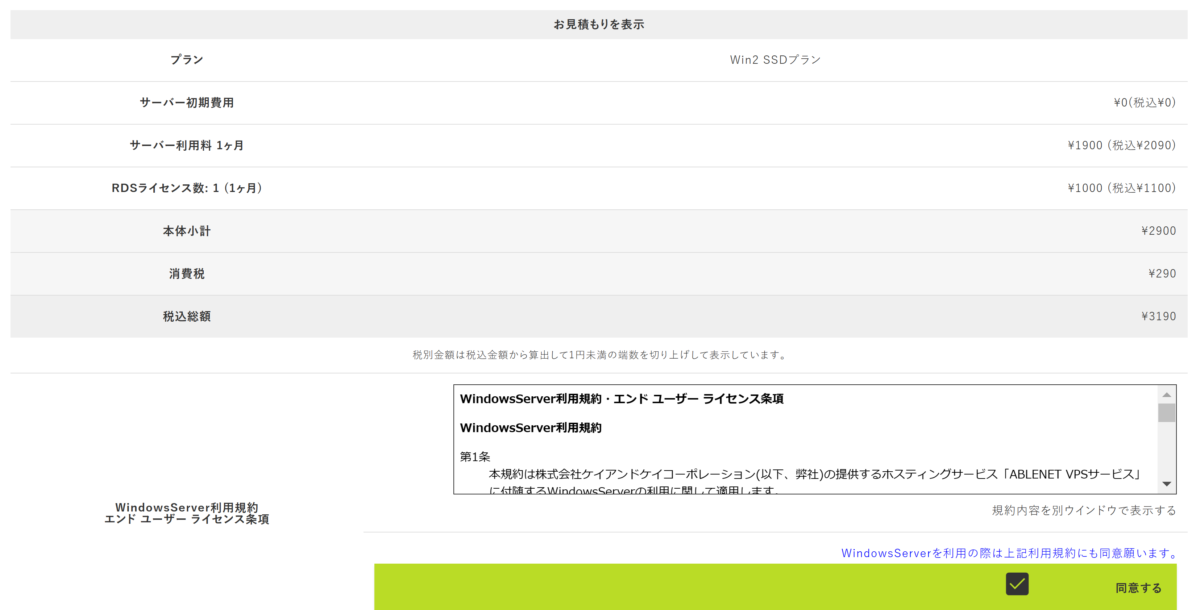
見積を確認し、問題なければWindows Serverの利用規約に同意します。
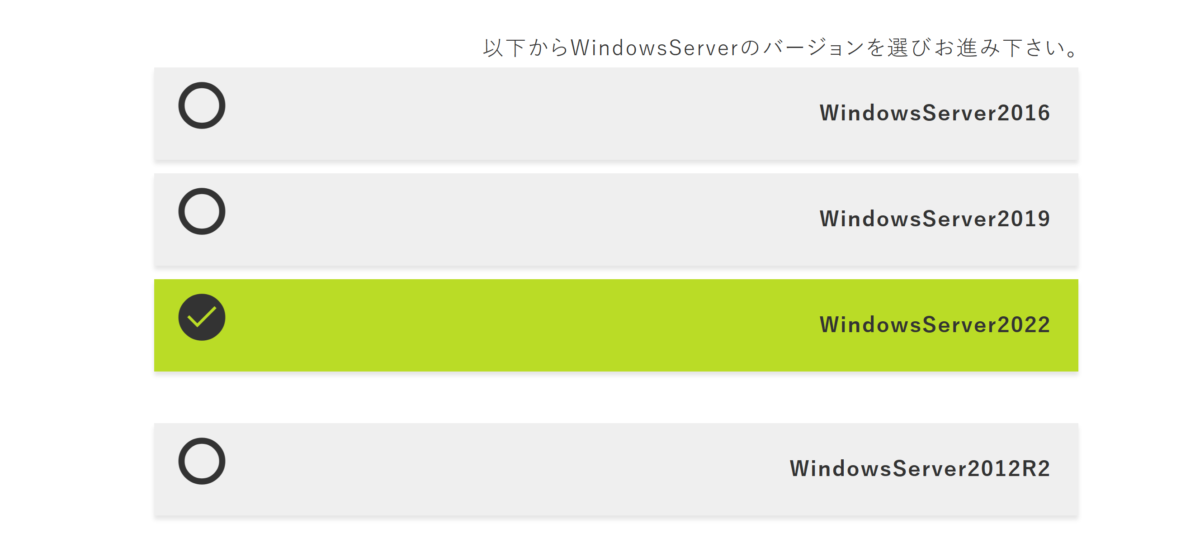
Windows Serverのバージョンを選択します。
Fuyutsuki特にこだわりがなければ最新年度のものを選べばOKです
画面をスクロールし、「申込者情報の入力へ進む」をクリックします。
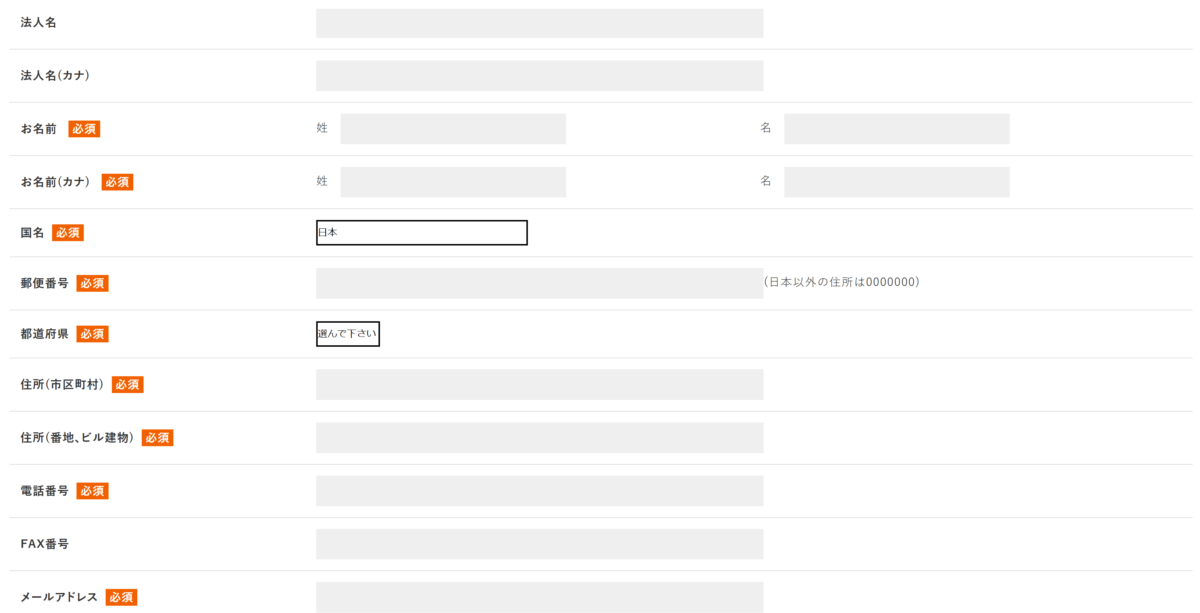
申込者情報を入力して、画面右下の「注文内容の確認へ進む」をクリックします。
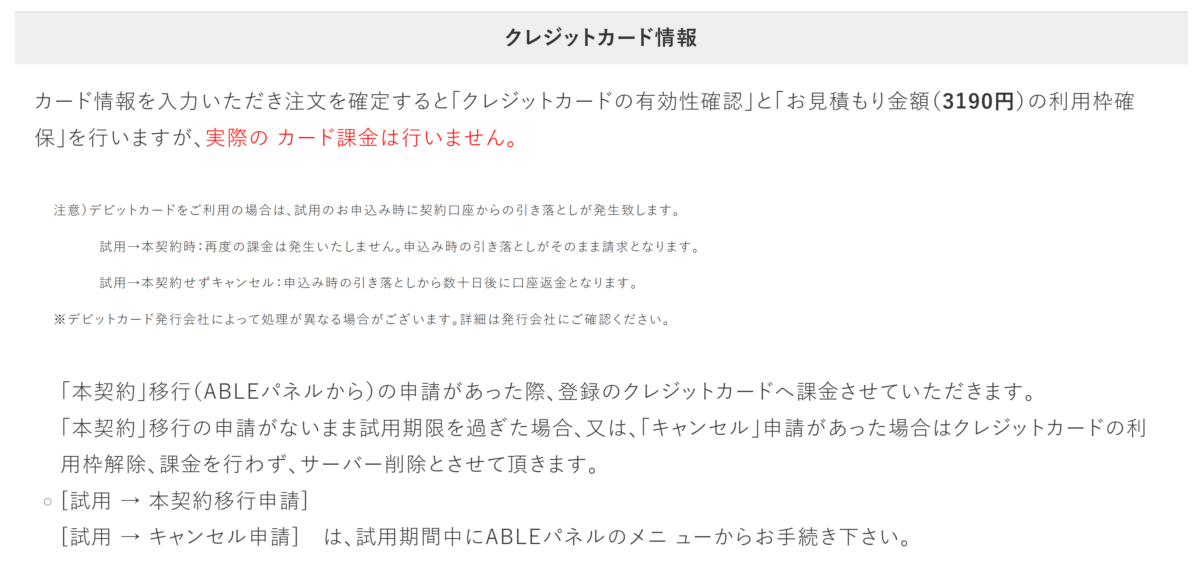
最終確認画面が表示されるので、申し込み内容を確認します。
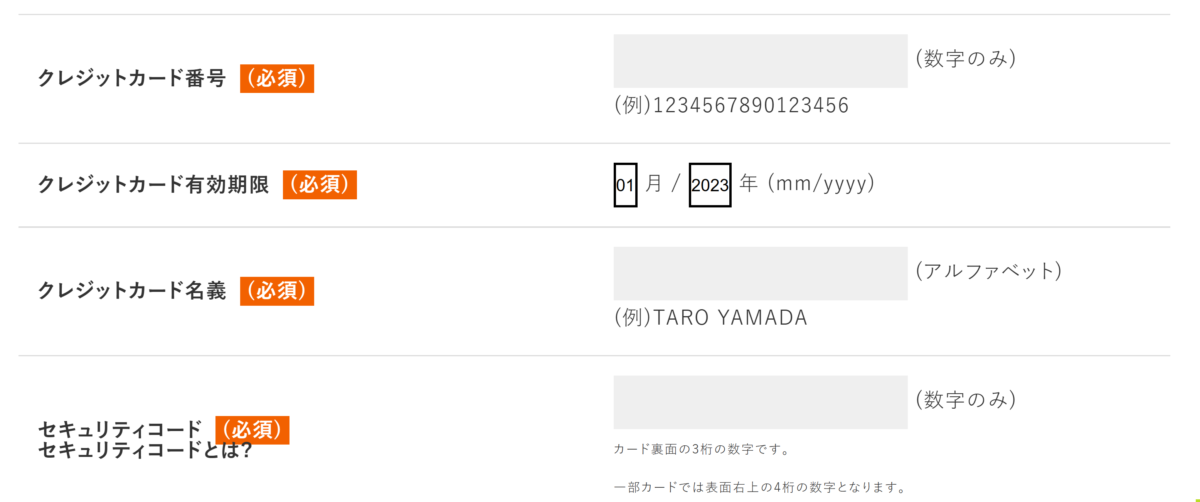
問題なければクレジットカードの情報を入力し、画面右下の「注文を確定する」をクリックします。

申し込みが完了するとこちらのような画面になります。
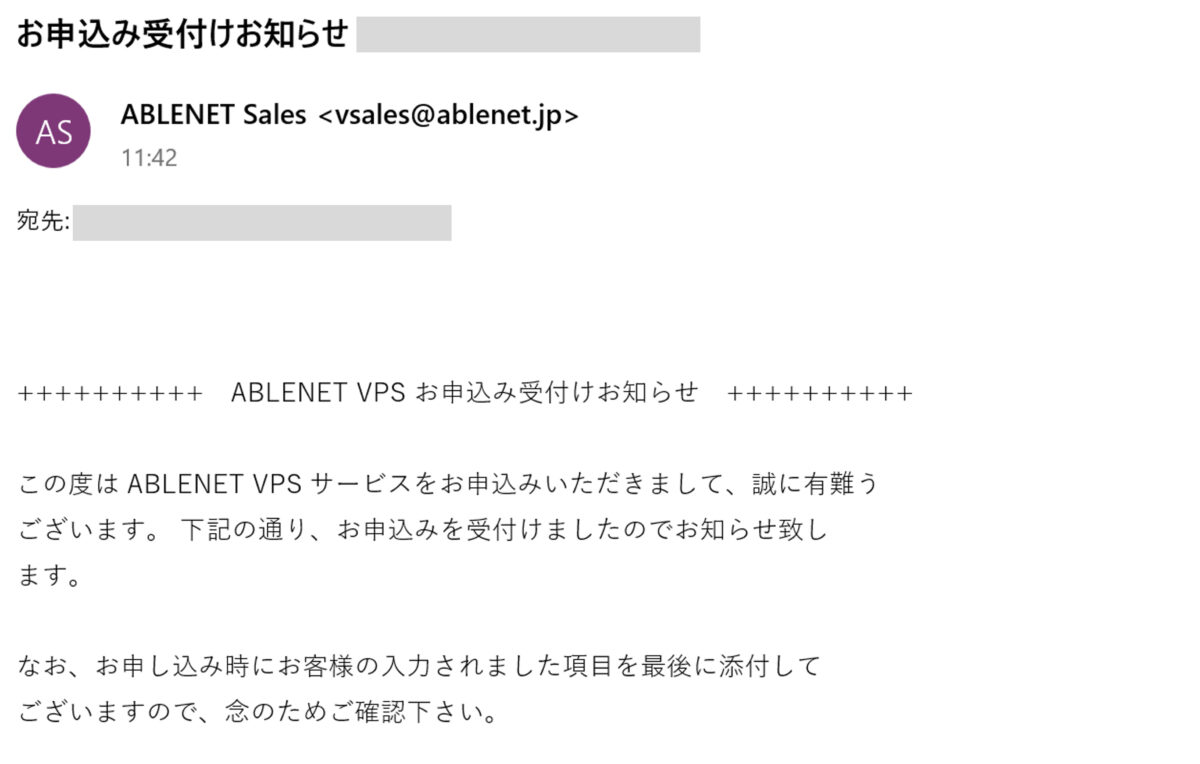
また、購入完了のメールが届きますので確認しましょう。
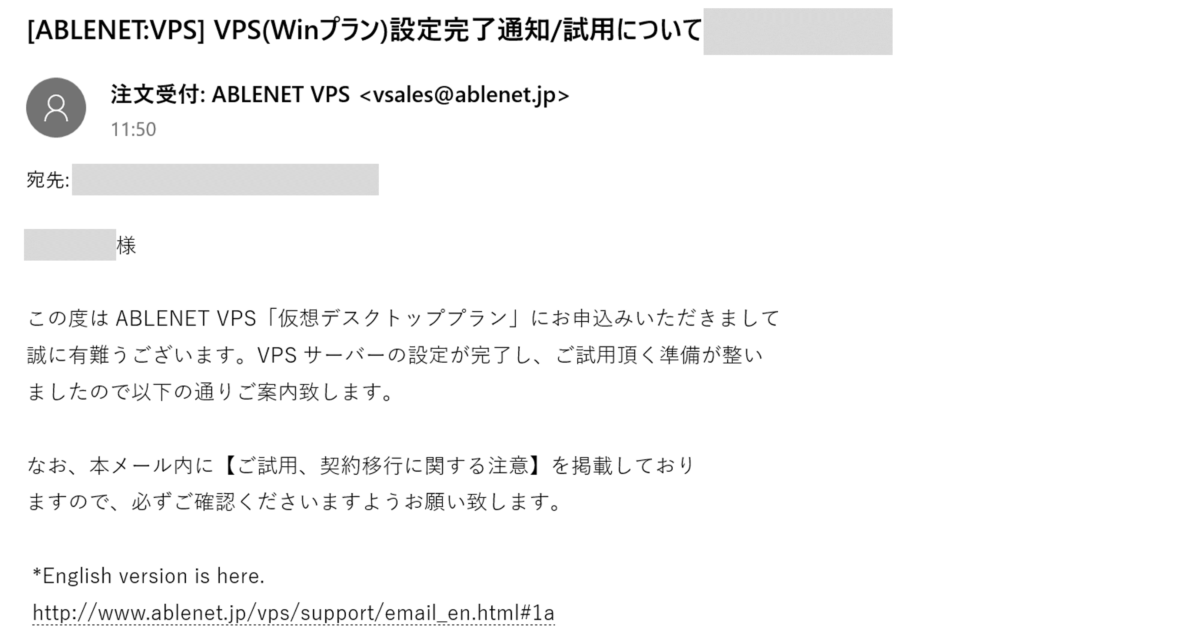
Windowsサーバーを申し込んだ方は30分~90分ほどで、設定完了通知メールが届きます。
設定通知完了メールにWindowsプランを利用する上で必要な情報が記載されているため、大切に保管しましょう。
Fuyutsuki私は10分ほどでこちらのメールが届きました。
設定完了通知メールが届いたら、こちらで利用手順を解説しているようにいよいよWindowsプランを利用していきます。
本契約移行手順
備考として、本契約移行手順も解説しておきます。
Fuyutsuki先程も触れましたが、試用期間の方は本契約移行の申請をしておかないと、サーバーが削除されてしまいます。
まずはABLE PANELにアクセスします。
設定完了通知メールに記載のABLEパネル ID及びパスワードでログインします。
「>>本契約への移行/試用期間中のキャンセル手続きへすすむ」をクリックします。
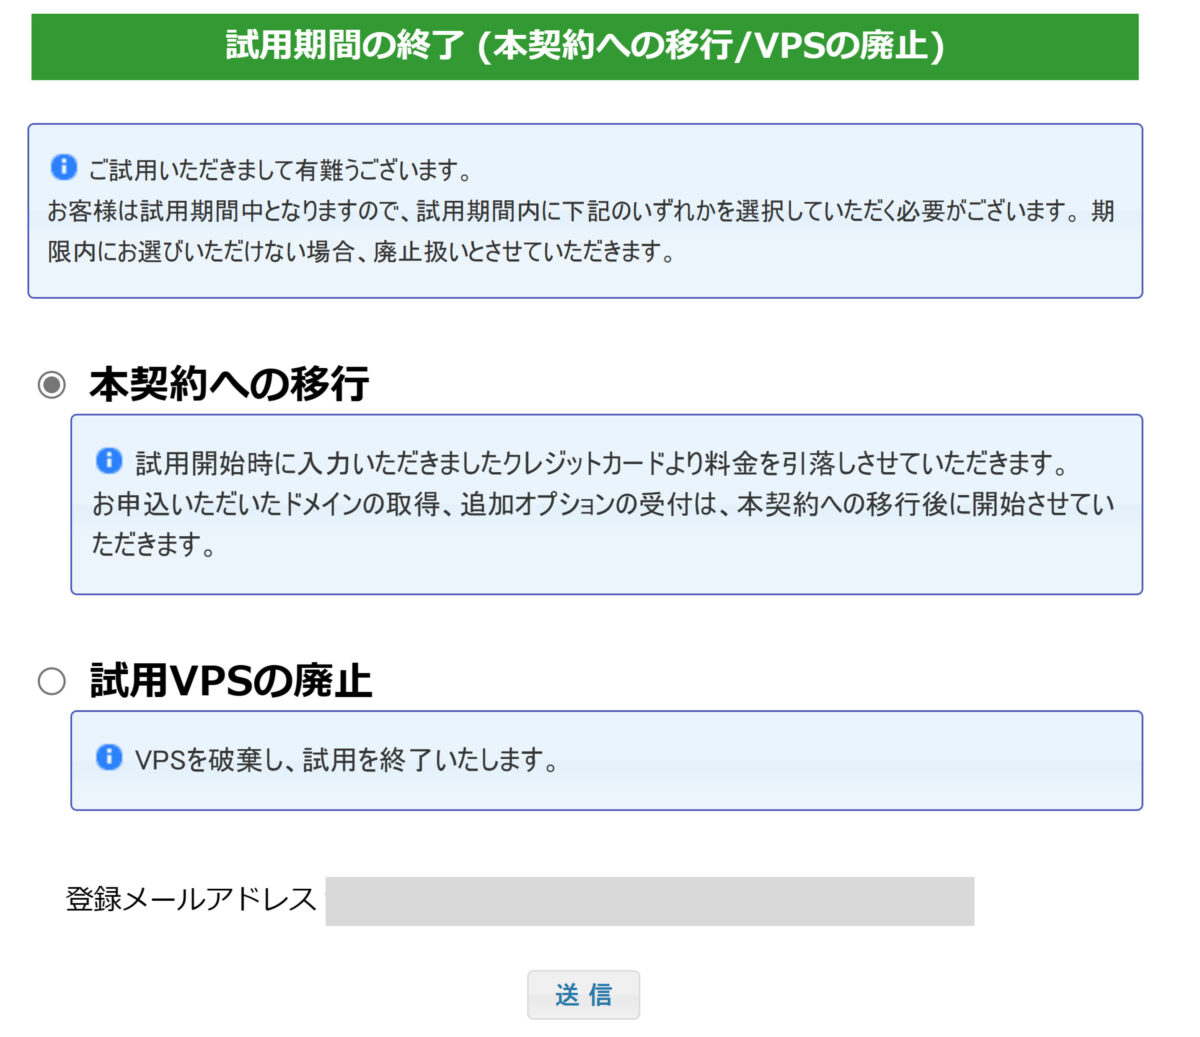
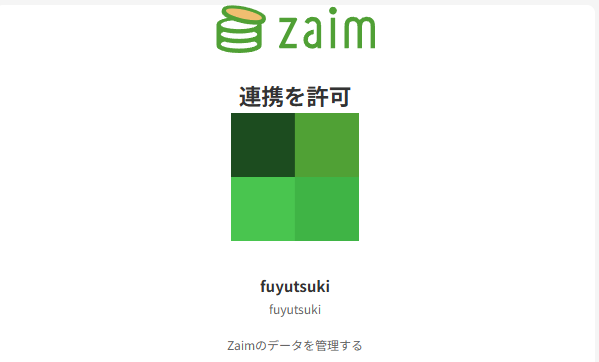
「本契約への移行」を選択し、送信をクリックすれば完了です!
Fuyutsuki本契約への移行も簡単にできるようにされていますね。
ABLENET VPS Windows Serverの利用手順
WindowsとMacで接続方法が異なりますので、それぞれ解説していきます。
Windows:Windows Serverへのリモートデスクトップ接続
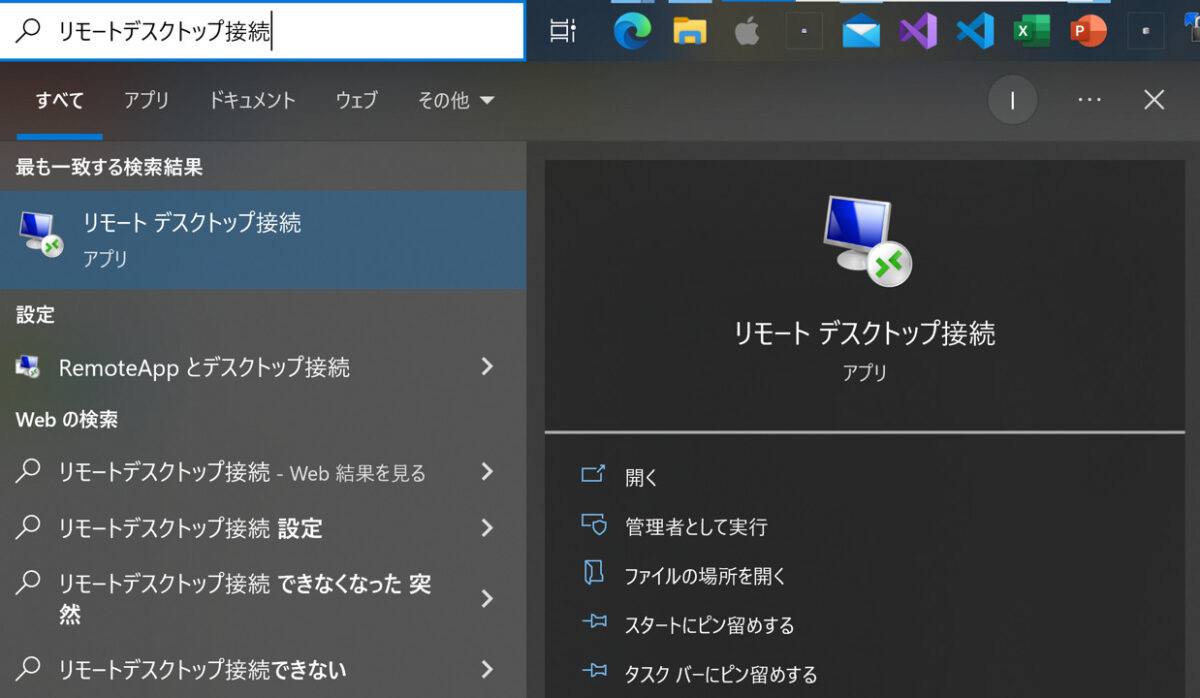
Windowsボタンを押して、「リモートデスクトップ接続」アプリを起動します。
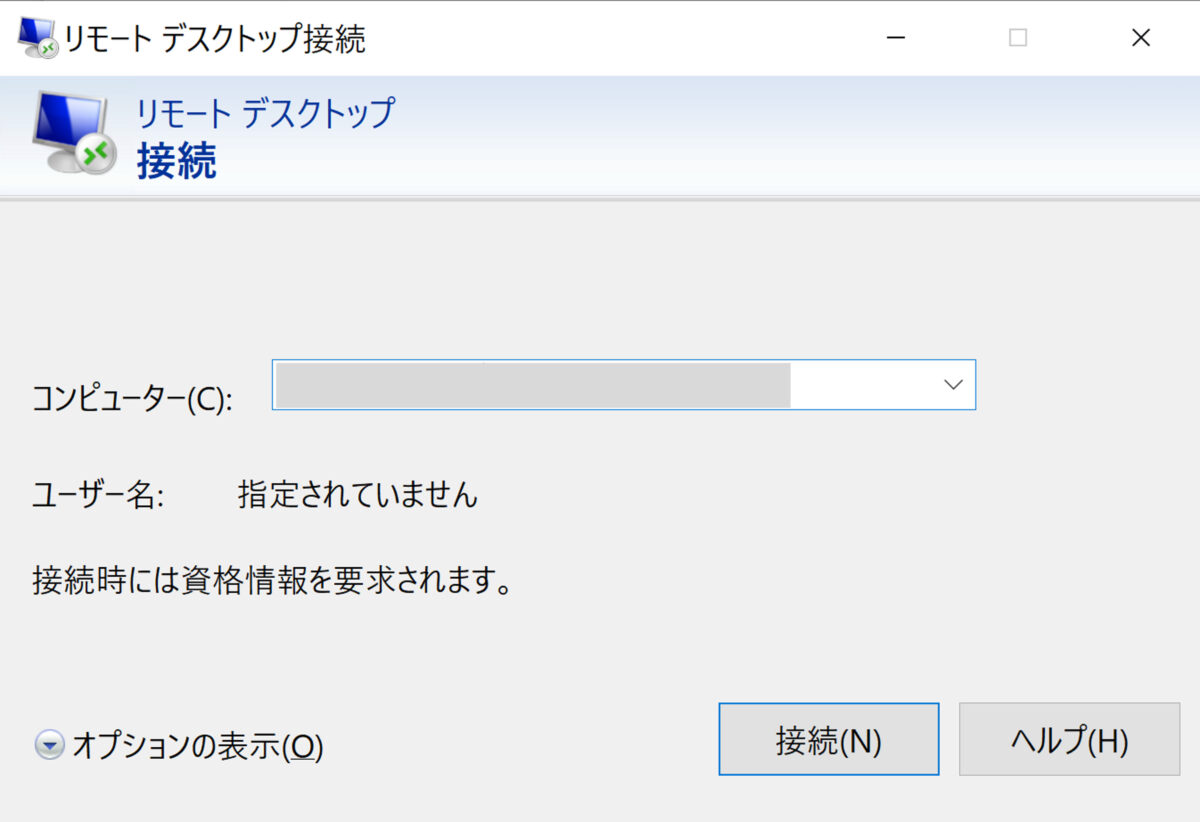
設定完了通知メールに記載のコンピュータ(IPアドレス)と記載されています)をリモートデスクトップ接続アプリの「コンピューター(C)」に入力して、接続ボタンをクリックします。
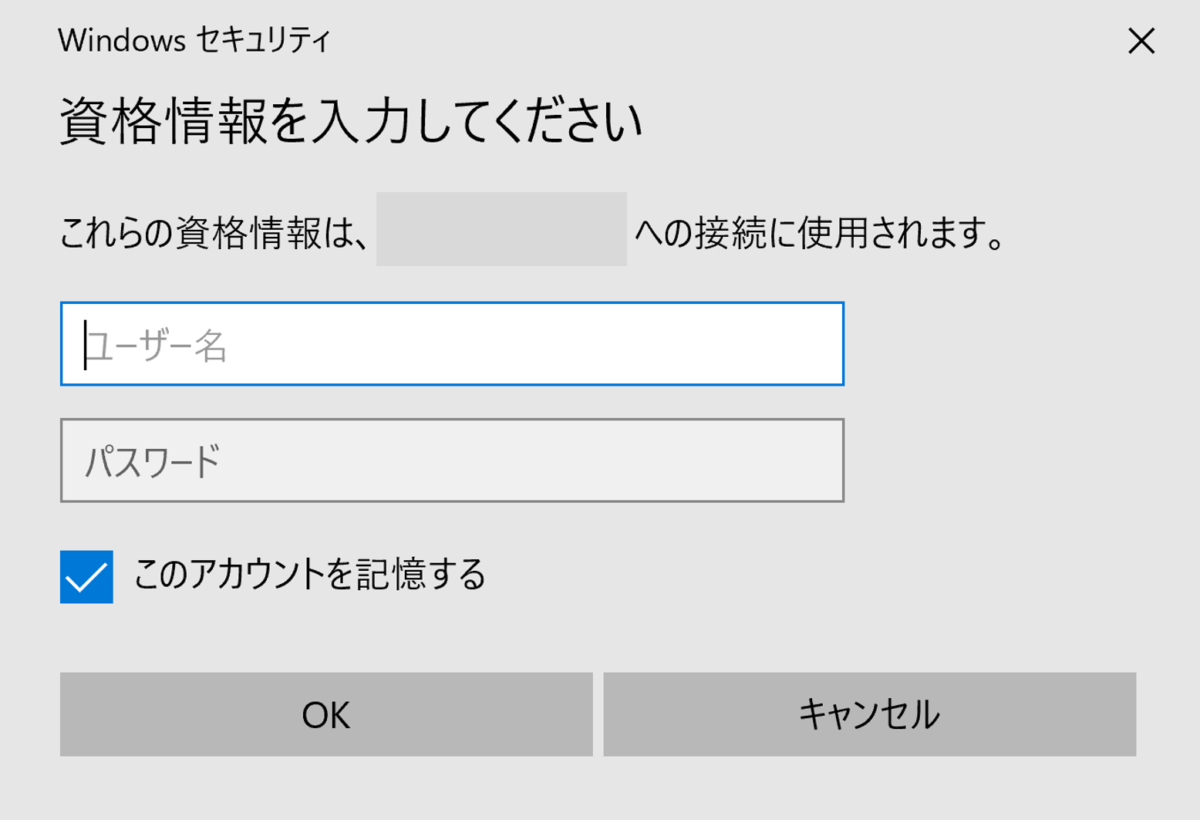
「ユーザー名」と「初期パスワード」を入力して、「OK」ボタンをクリックしましょう。
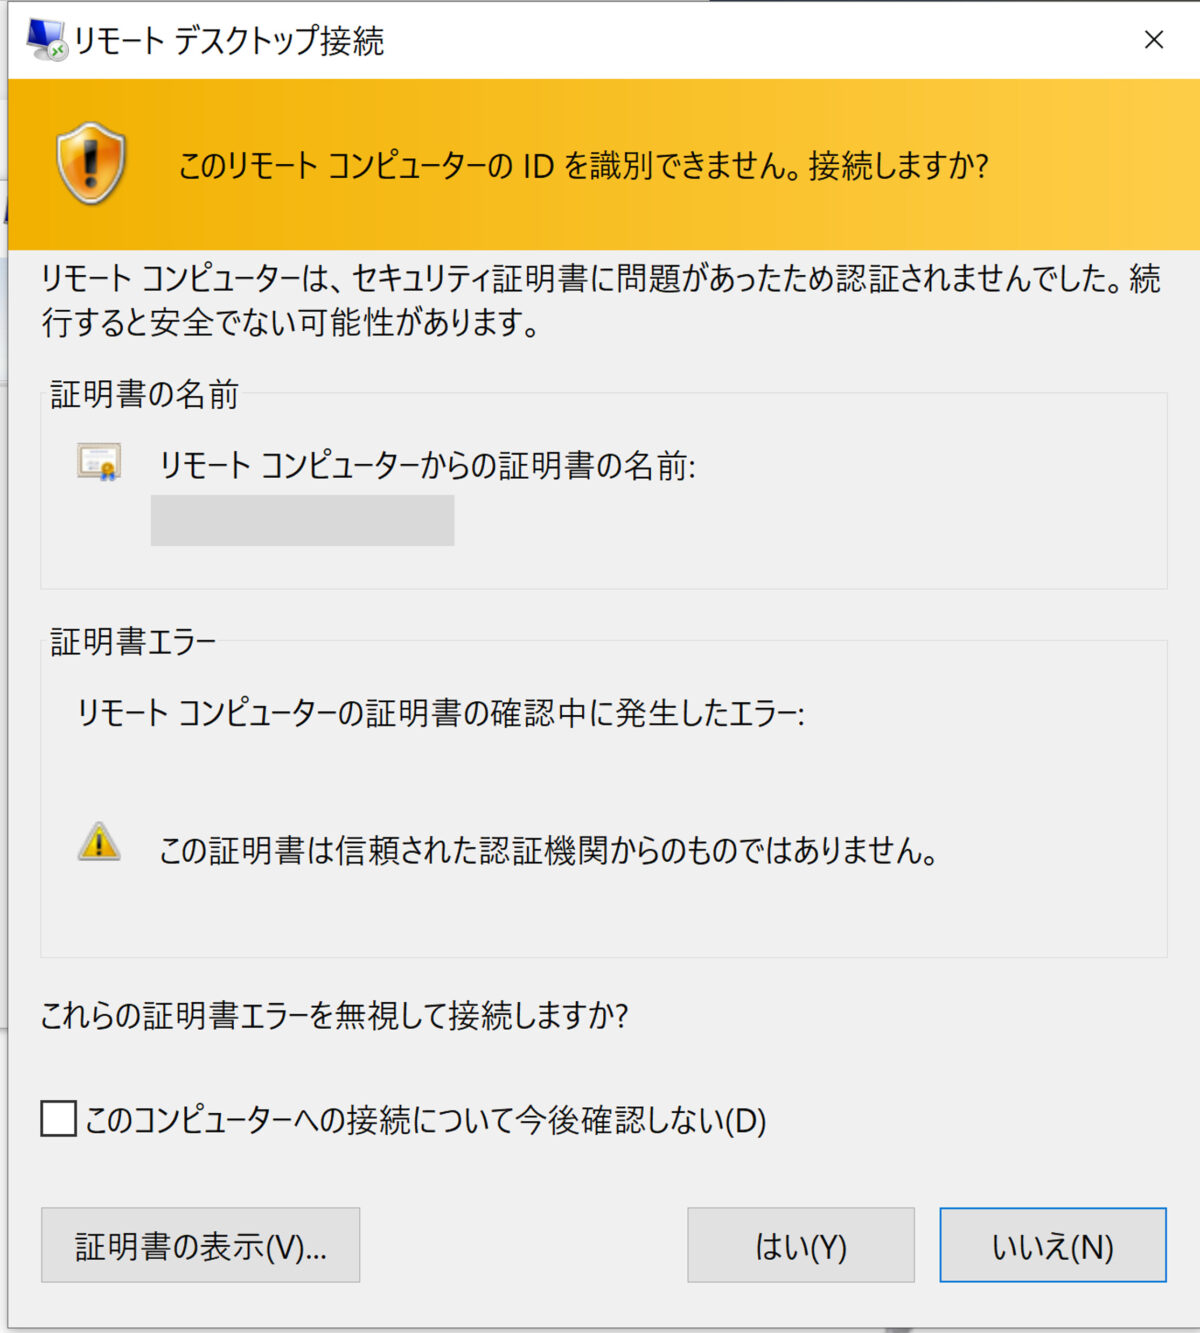
証明書のダイアログでは、「はい」をクリックします。

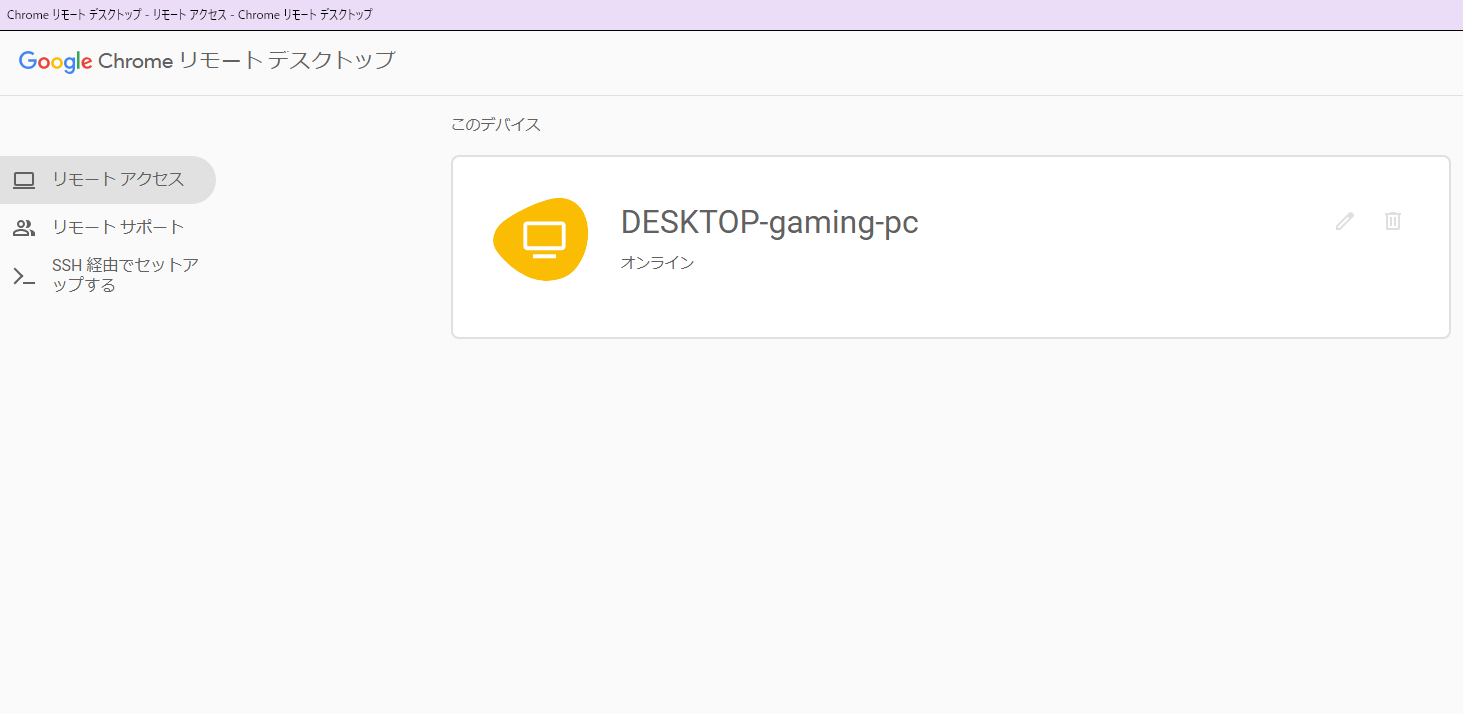
このように、サーバーにリモートデスクトップ接続できたら完了です!
Mac:Windows Serverへのリモートデスクトップ接続
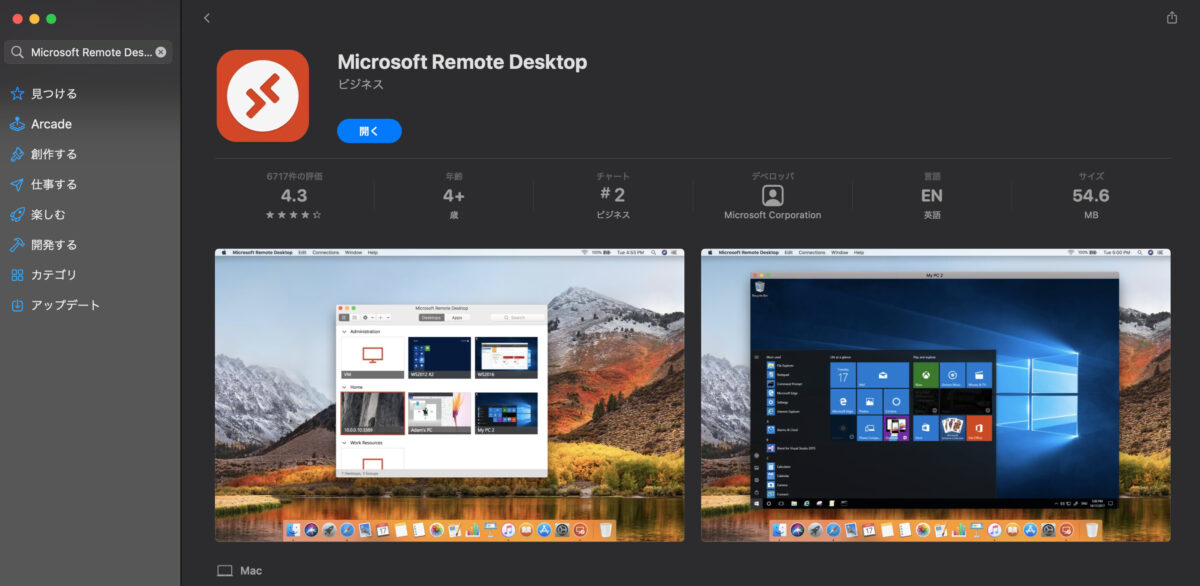
App Storeで「Microsoft Remote Desktop」と検索してインストールします。
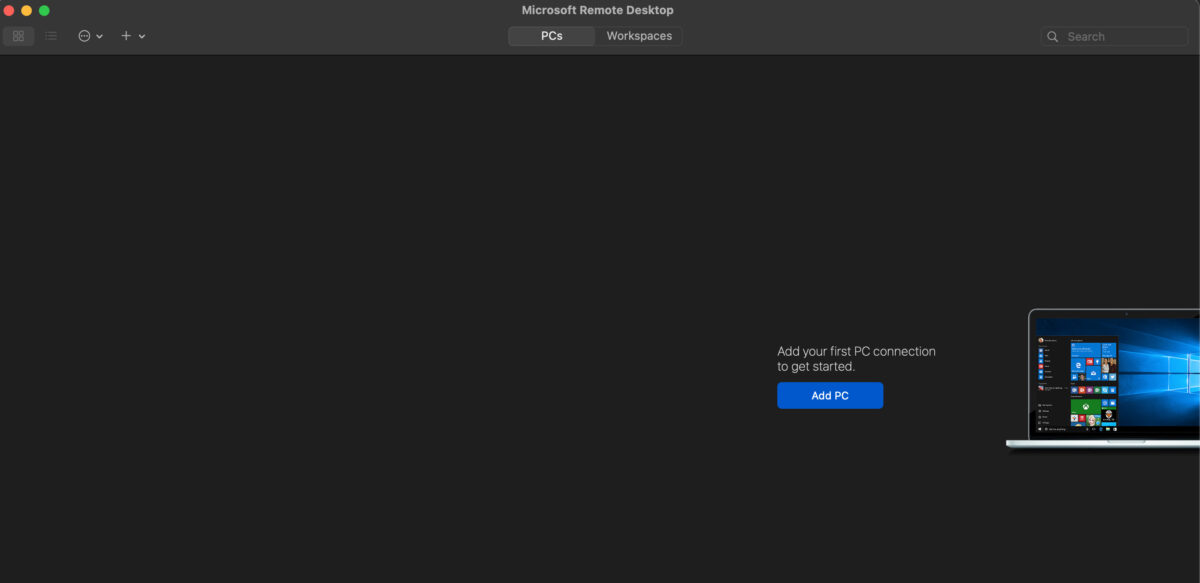
Microsoft Remote Desktopを起動したら、「Add PC」をクリックしましょう。
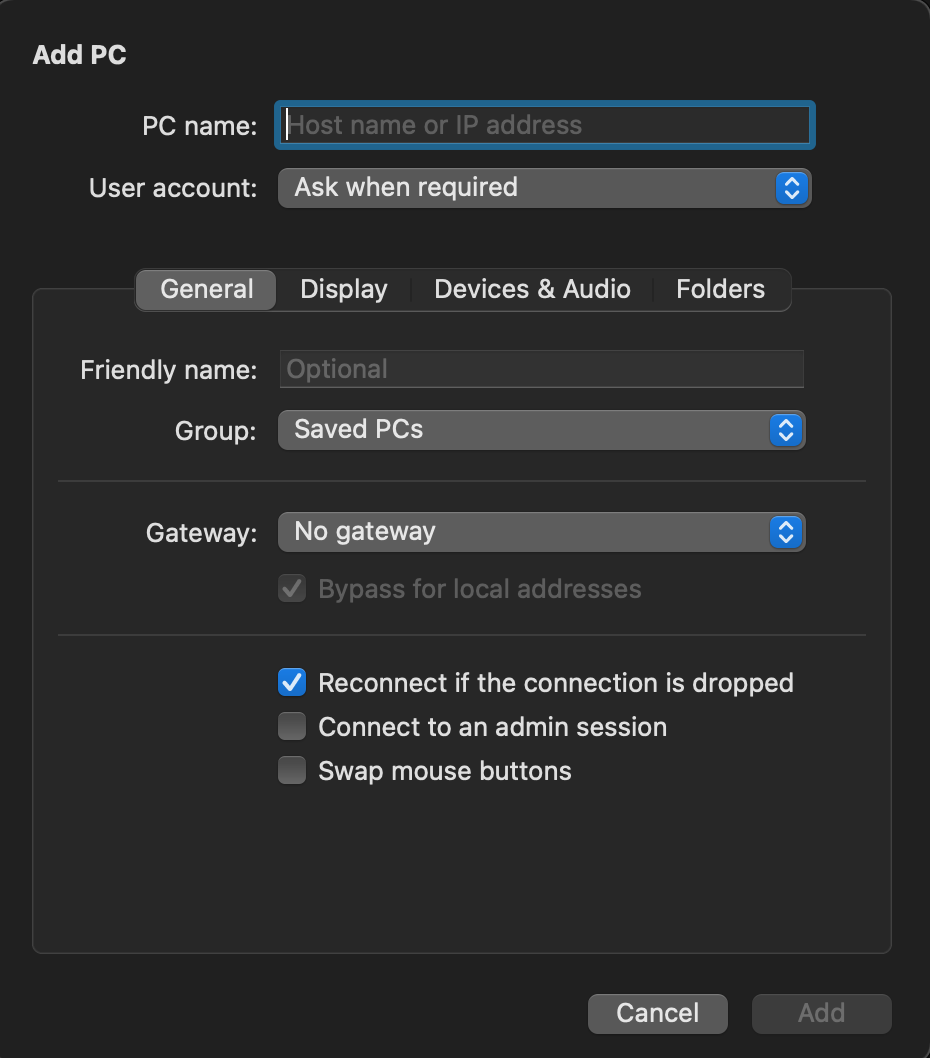
PC Nameに設定完了通知メールに記載の「コンピュータ(IPアドレス)」を入力し、「Add」をクリックしましょう。
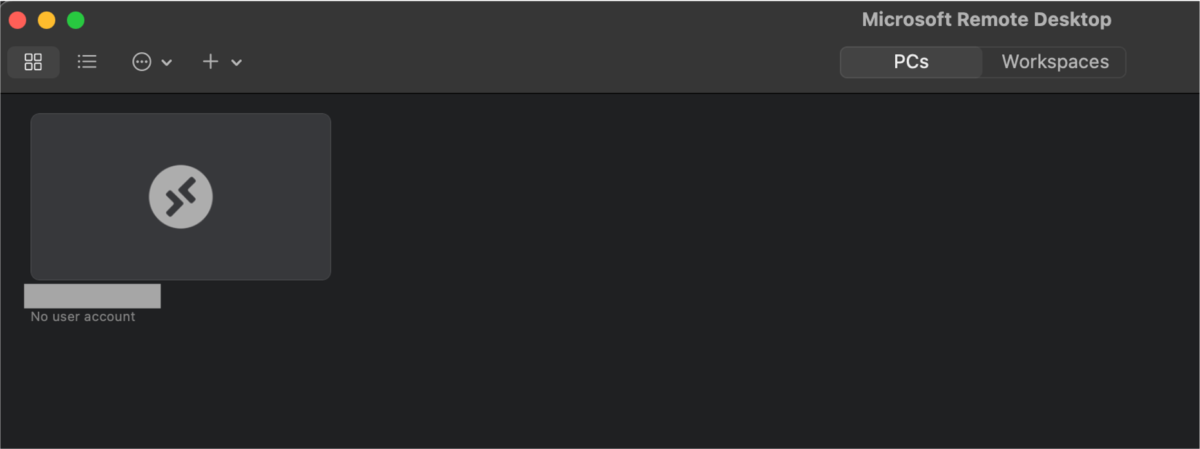
Add PCをすると上記のように追加されます。追加された箇所をダブルクリックすると「ユーザー名」と「パスワード」を入力する画面になります。
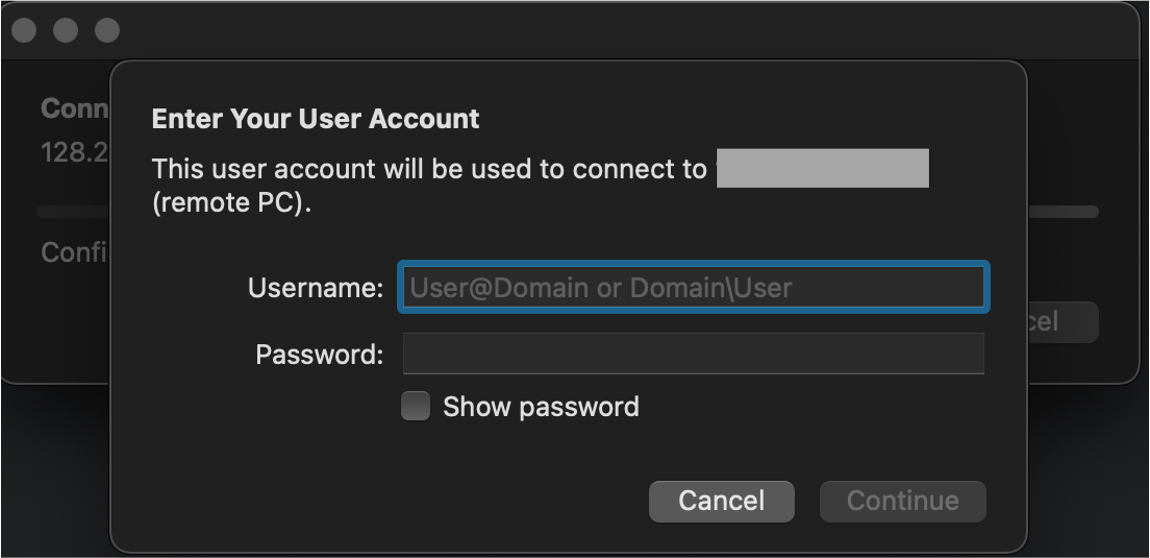
設定完了通知メールに記載の「ユーザー名」と「初期パスワード」を入力して、「Continue」ボタンをクリックしましょう。
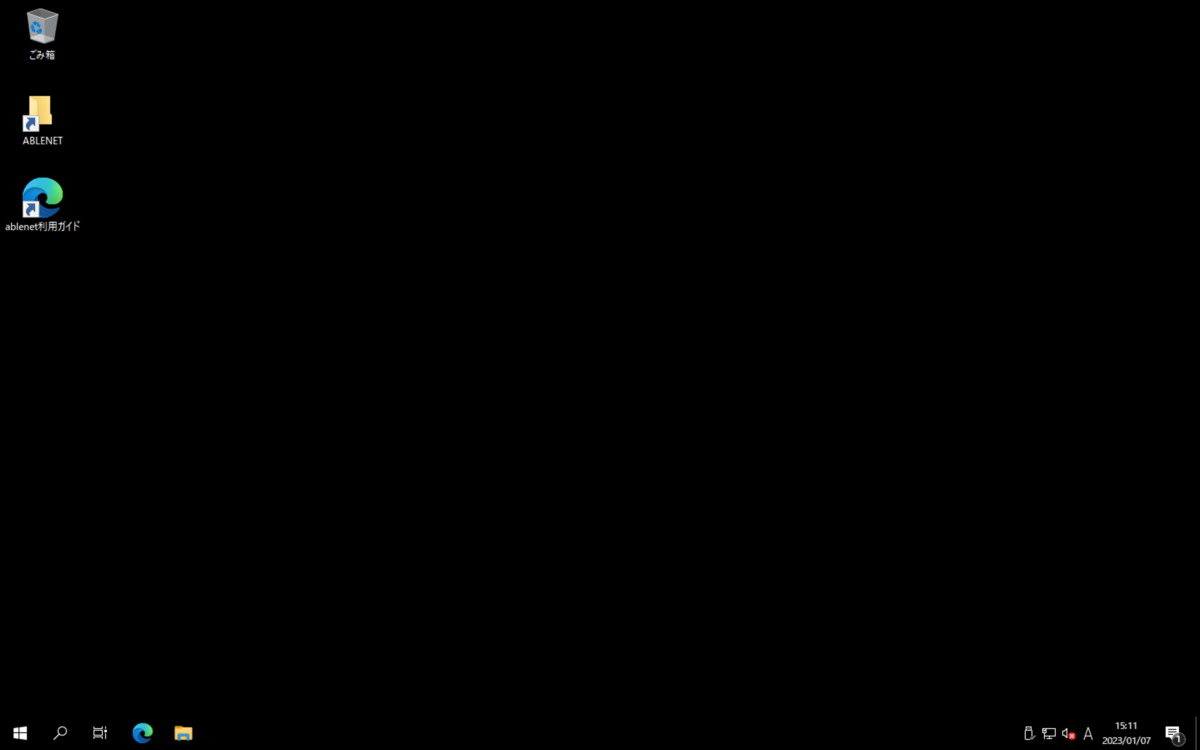
Macでリモートデスクトップ接続が完了するとこちらの画面になります。
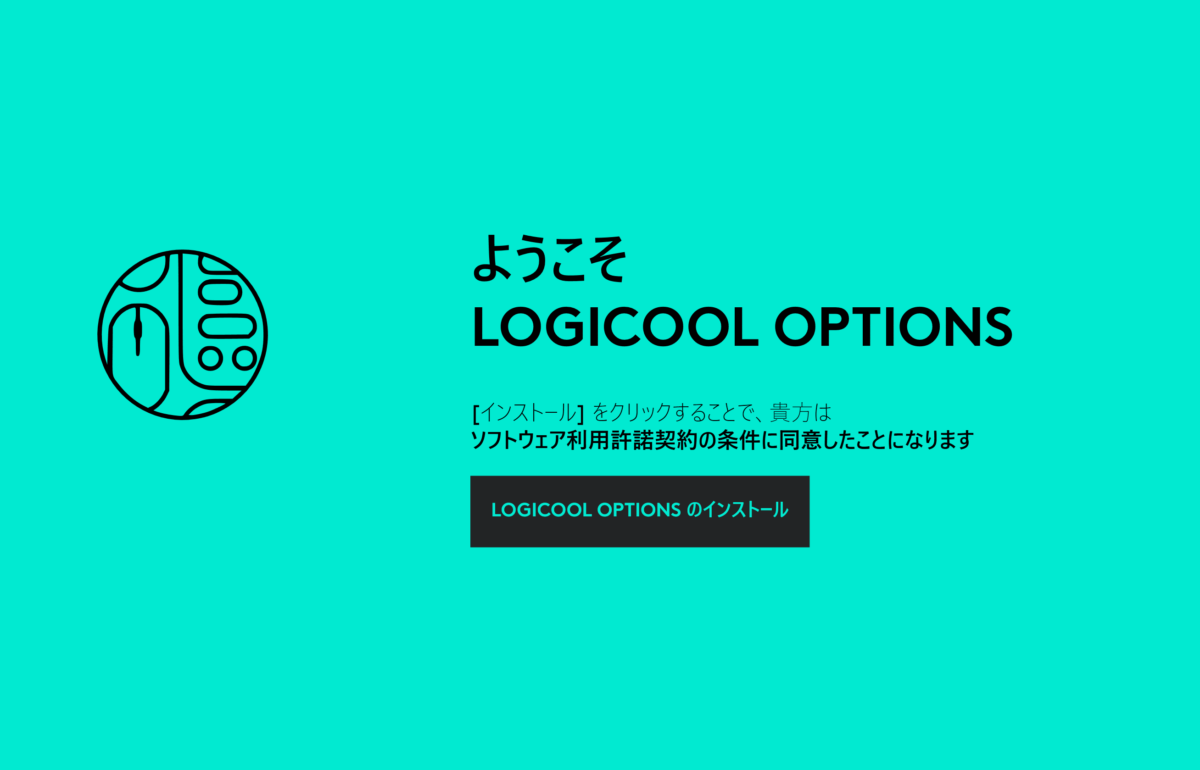
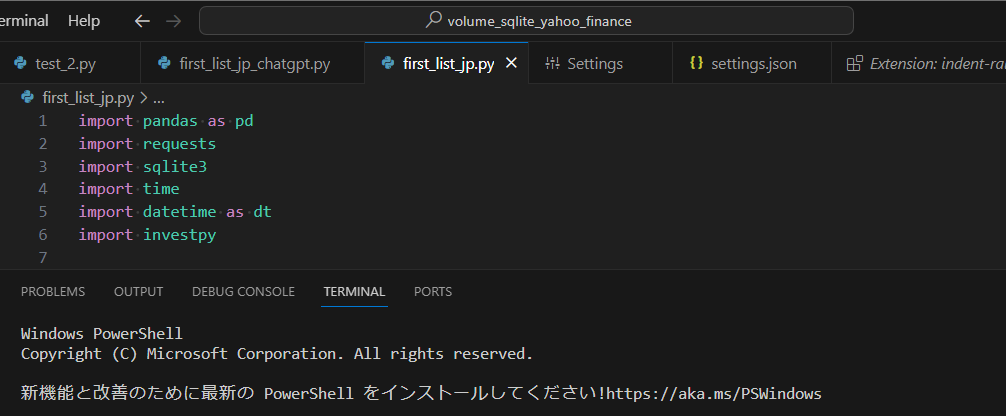
Fuyutsuki接続後は、お好きなアプリケーションのインストールやプログラムの設置を行っていきましょう!
まとめ:ablenet vpsでWindows Serverを活用しよう!
PCを起動しなくてもプログラムを自動で実行するのに有効なWindows ServerのおすすめVPSであるABLENET VPSについて徹底解説しました。
10日間の無料体験がありますし、まずは試してみてはいかがでしょうか。
Fuyutsuki10日間の無料体験がありますし、まずはお試しで使ってみると良いかと思います。
\ 10日間の無料体験期間あり/
皆さんの参考になれば幸いです。
最後まで読んでいただきありがとうございました。ではまた、次の記事で!

コメント