


こんにちは、fuyutsukiです。
今回の記事では、デスクトップPCや自作PCをお持ちの方にぜひ購入いただきたいCPU Standについて紹介します。
 Fuyutsuki
冷却性能が上がりますし、掃除もしやすくなるのでおすすめです。
こちらの記事で私が今イチ押しする自作PCについて紹介していますので併せてどうぞ。
あわせて読みたい

【2025年版】予算16万円で組むコスパ重視構成の最強自作PC
今回私が組んだ予算16万円でコスパ重視の自作PCについて解説します。性能の良い作業用PCが欲しいと考えている方にこそ読んでいただきたいです。
目次
キャスター付きCPUを購入しよう
おすすめのCPUスタンド
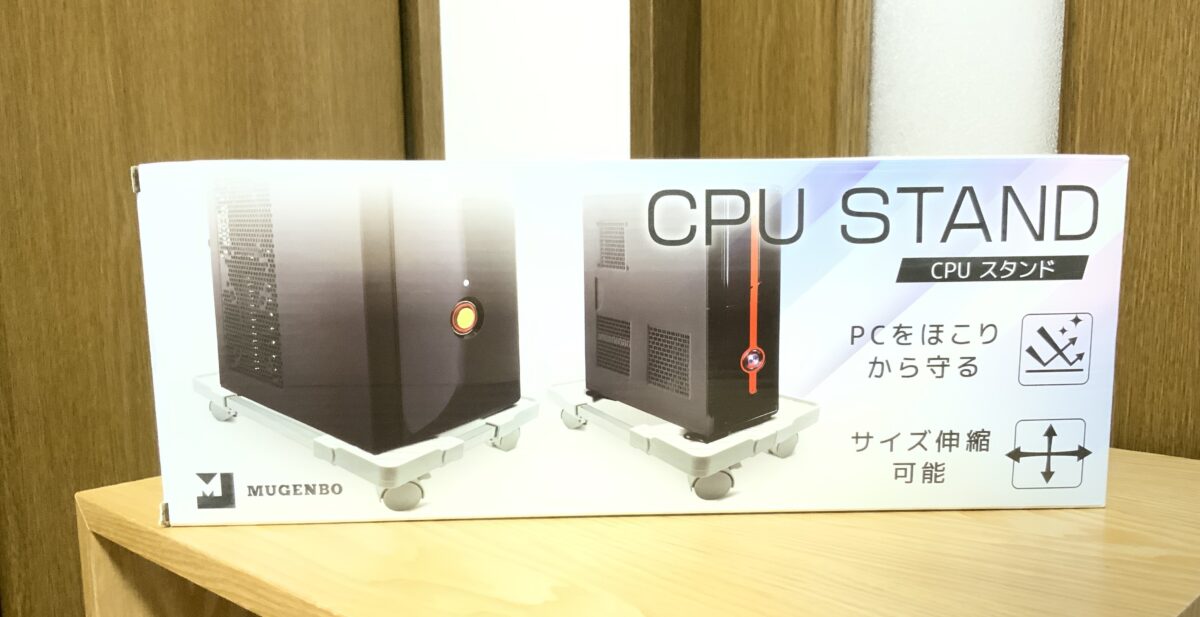
早速ですが、私が購入したCPUスタンドはこちらになります。

zo-
¥4,500 (2023/07/27 22:40時点 | 楽天市場調べ)
私がCPUスタンドを購入するうえで重要視したのはこちらの3点です。
- キャスター付きで動かしやすいこと
- フルタワー型からミニタワー型までサイズ伸縮が可能であること
- 見た目がスマートなこと
Fuyutsukiキャスターが付いていることと、サイズ伸縮が可能なことは必須ですね。
見た目重視のCPUスタンド
他に私が迷ったCPUスタンドはこちらです。
木目の穏やかな色合いが部屋の色にあっていたんですよね。
Fuyutsuki機能よりも見た目を重視される方におすすめです。

Domy Home Japan
¥2,300 (2023/07/27 23:01時点 | 楽天市場調べ)
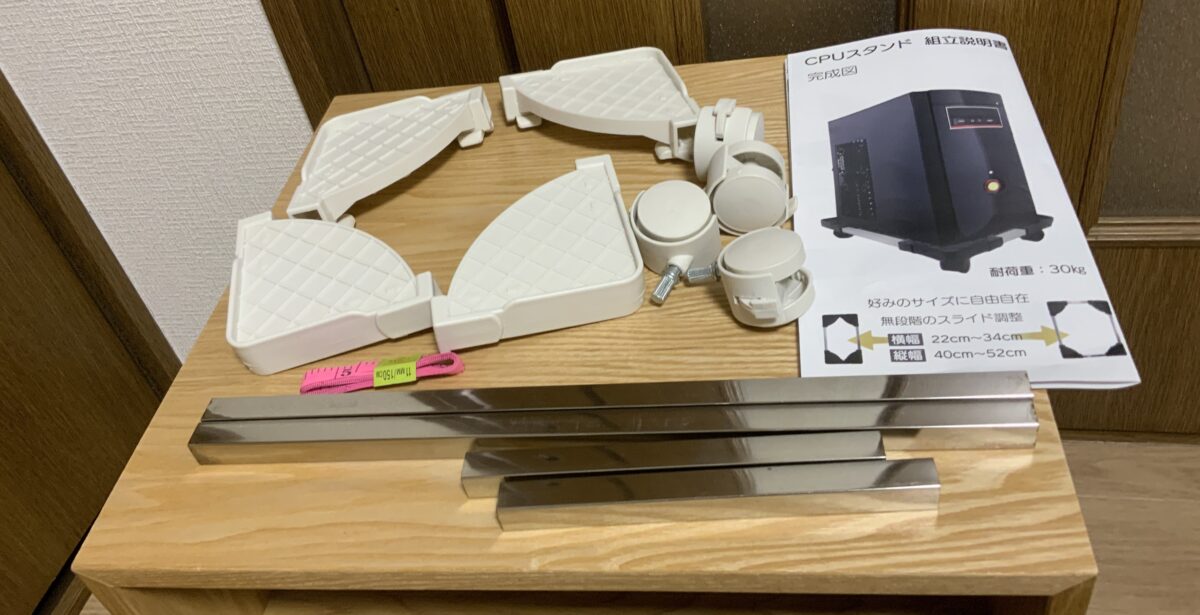
CPUスタンドの組み立て
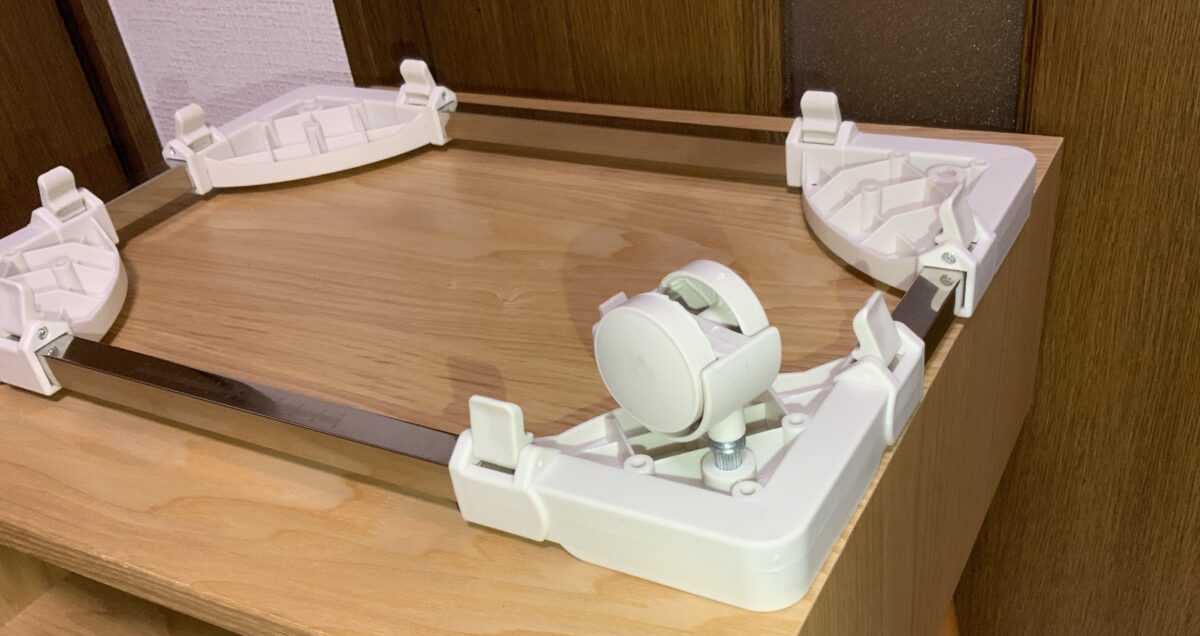
まずは箱の中身を確認します。取扱説明書と各パーツおよびメジャーが入っています。
まずはこのように金属の棒を差し込みます。
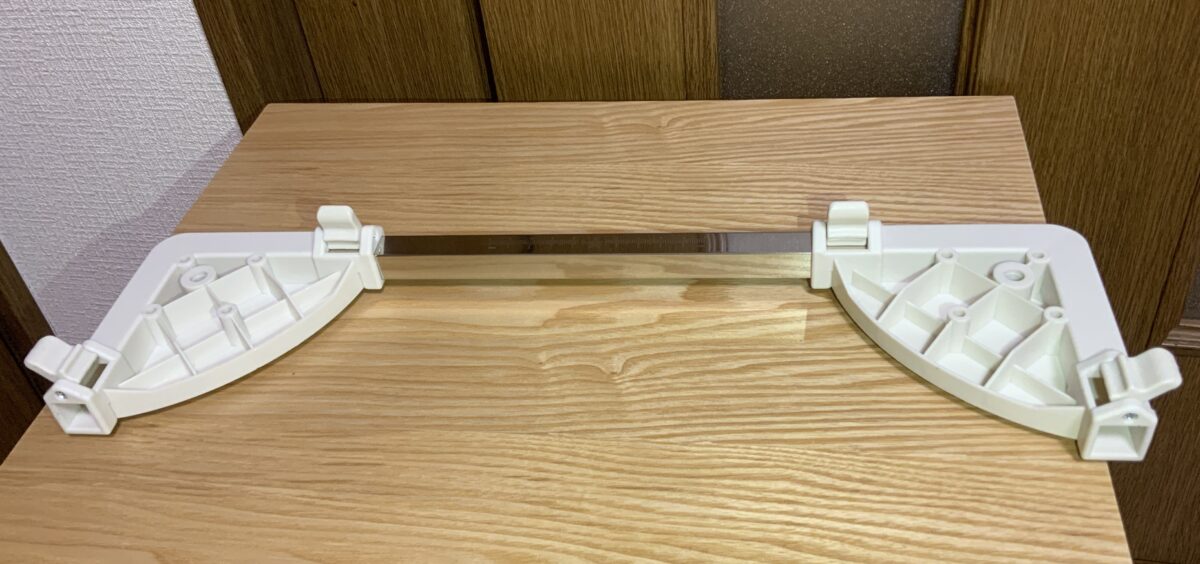
同様にこちらのように四角形になるように金属の棒を差し込みましょう。
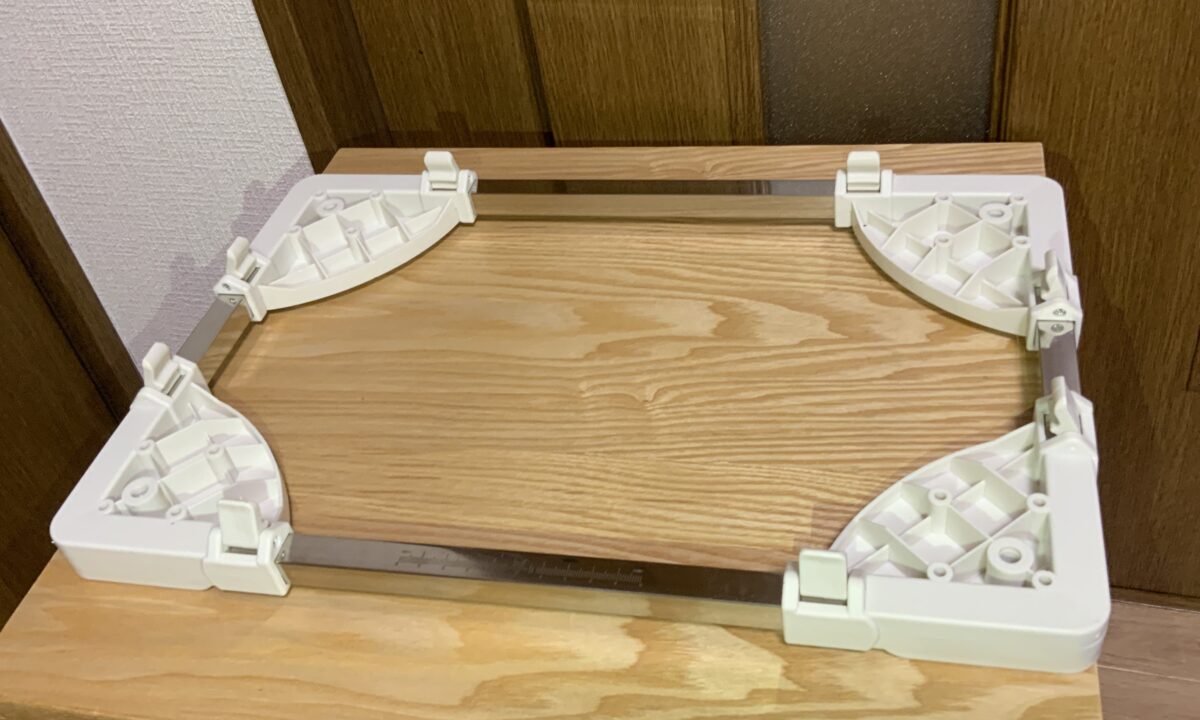
最後にキャスターをはめて、8箇所のロックを力強く押して下に降ろせば完成です。
 Fuyutsuki
組み立てはとにかく簡単ですね。
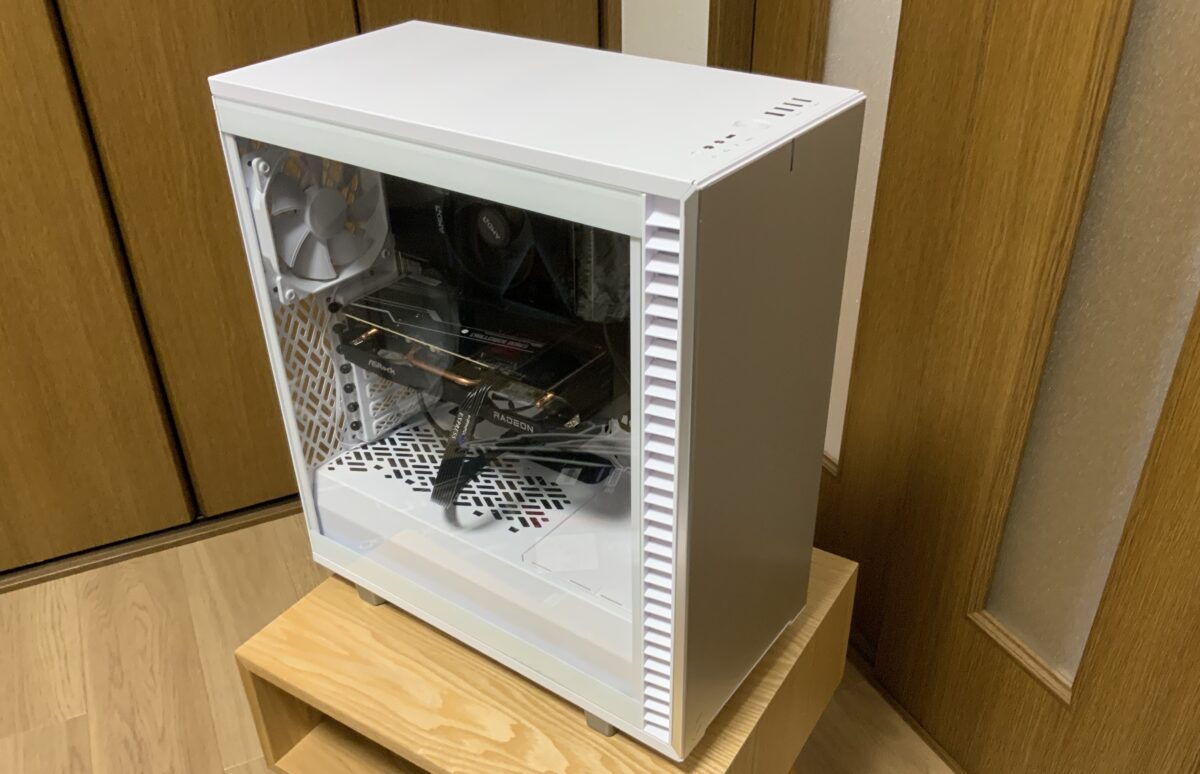
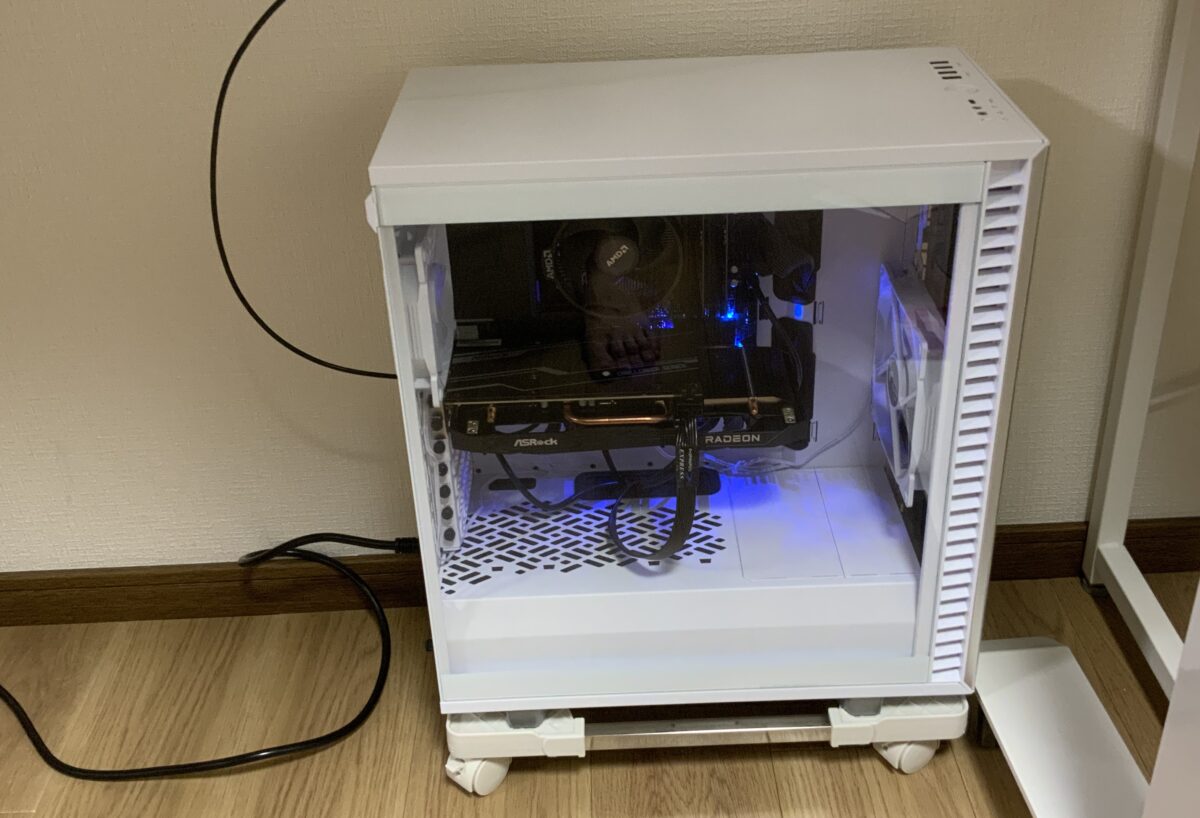
実際に自作PCをのせてみるとこんな感じ。
まとめ:自作PCやデスクトップPCにはCPUスタンドを!
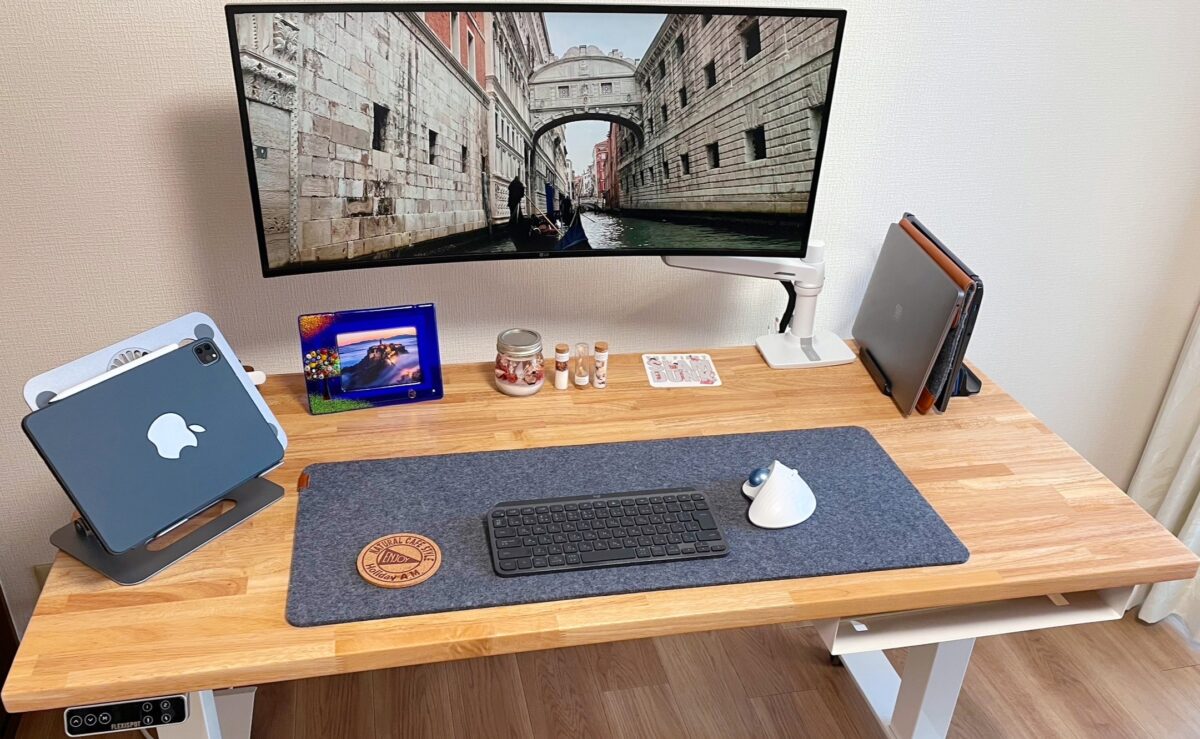
こちらの記事で紹介している私が愛用しているデスクの下に自作PCを置いています。
あわせて読みたい
【Flexispot×かなでもの天板レビュー】超快適な電動昇降デスク
FlexiSpot×KANADEMONO天板で超快適なデスク環境を構築しましたので、徹底レビューします。電動昇降デスクに興味がある方必見です。
CPUスタンドの上に置くことでちょっと動かすときにも楽ちんなので、ぜひ取り入れていただきたいです。
Fuyutsukiデスク下の奥側に移動させることも、こちらのように手前に引っ張り出すことも簡単にできます。

私のブログではデスク環境や自作PCに関する記事などを執筆していますのでぜひまた読みに来てください!